
A Practical Guide to Preserving Physical Family Photos
That shoebox of old family photos is a treasure, but it's also incredibly fragile. This guide walks through the best practices for long-term physical preservation, covering the right materials, storage environments, and handling techniques to protect your prints, albums, and negatives for future generations.
Patrick Moore, Founder • September 27, 2026
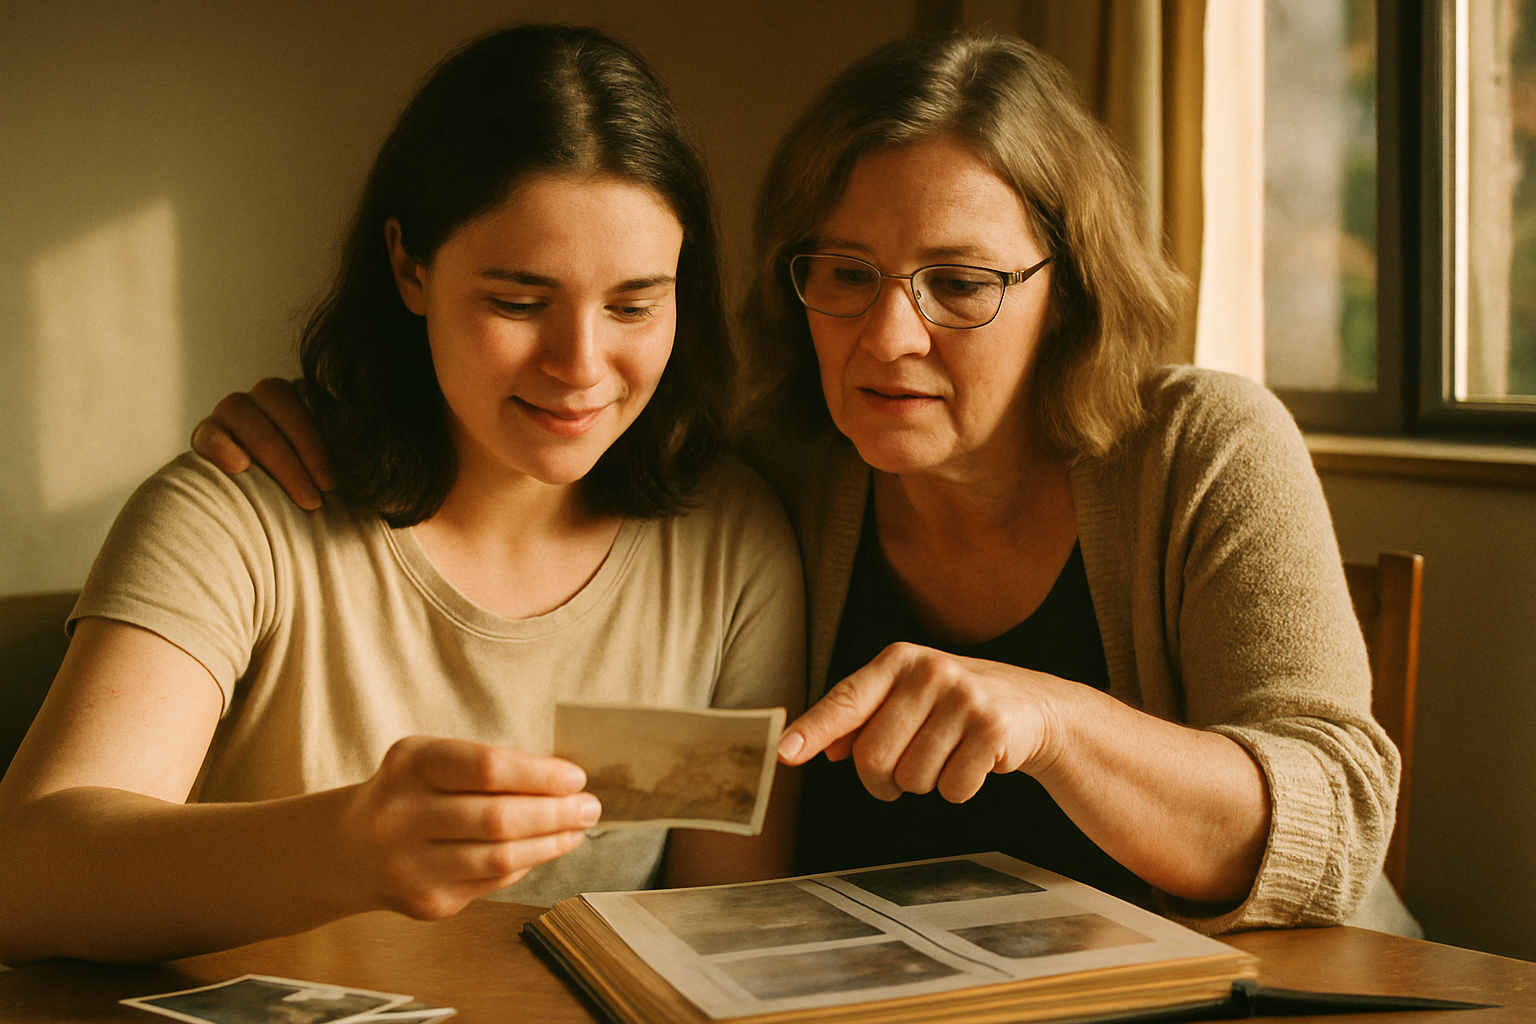
There’s a particular scent to a shoebox of old family photographs—a mix of aging paper, faint chemicals, and dust. When you lift the lid, you’re not just looking at pictures; you’re holding artifacts. You can feel the curled, stiff edges of a print from the 1960s, see the deckled border on a snapshot from the 80s, and run a thumb over the back where your grandmother’s cursive identifies a face you’ve never met.
In that moment, a quiet sense of responsibility settles in. These aren’t just images on a screen. They are one-of-a-kind physical objects that have survived decades. They are fragile. The colors are already starting to shift, the corners are softening. You realize that their continued survival isn't guaranteed. It depends on you.
While digitizing photos is a critical step for creating backups and sharing memories, it’s only half the story. Preserving the original, tangible photograph is an act of conservation that honors its journey through time. This guide is about that other half—the practical steps you can take to protect these physical heirlooms so your great-grandchildren can hold them, too.
The short answer
To preserve physical family photos, store them in archival-quality, acid-free boxes or albums. Keep them in a cool, dark, dry place with a stable environment, like a closet in your main living space. Avoid attics, basements, and garages at all costs. Handle prints and negatives by their edges, preferably with cotton gloves, to prevent damage from skin oils. This protects them from their primary enemies: light, heat, moisture, and acidic materials.
Understanding What You're Fighting Against
Before you can protect your photos, it helps to know what you’re up against. Four main culprits are working to degrade your family's visual history every day:
- Light: Sunlight and even fluorescent indoor lighting contain UV rays that break down the chemical makeup of a photograph. This causes colors to fade, whites to yellow, and the overall image to lose contrast. Light damage is cumulative and irreversible.
- Heat & Humidity: Heat accelerates the rate of chemical decay in every component of a photo. High humidity can soften the photo's emulsion (the image layer), making it sticky and susceptible to mold and mildew. Low humidity can make photos brittle and prone to cracking. Fluctuation is the real enemy—the constant expanding and contracting breaks down the paper fibers.
- Acids & Pollutants: This is the unseen threat. Cheap paper envelopes, cardboard shoeboxes, wood-pulp album pages, and even the adhesives used in old albums contain acids. Over time, these acids migrate into your photos, causing yellowing, staining, and embrittlement. Airborne pollutants like dust and gases can also cause damage.
- Mishandling & Pests: Fingerprints leave behind oils and acids. Paper clips and rubber bands cause physical indentations and chemical stains. Insects and rodents are drawn to the gelatin and cellulose in photos.
Top 2
Worst Places for Storage
Attics and basements are the most common but damaging places for photo storage due to unstable conditions.
< 70°F
Ideal Temperature
Stable, cool temperatures are crucial for slowing the chemical decay of photographic materials.
30-40%
Ideal Relative Humidity
This range prevents both mold growth at the high end and brittleness at the low end.
Choosing the Right Supplies
Moving your photos from the shoebox to a safe home is the single most important thing you can do. Investing in the right materials is investing in their future. When shopping, look for these terms:
- Acid-Free & Lignin-Free: Lignin is a compound in wood pulp that creates acid as it deteriorates. True archival materials are free of both acid and lignin.
- PAT Passed (Photographic Activity Test): This is the gold standard. It’s an international standard (ISO 18916) that tests materials to ensure they won’t react with and damage photos over time. If you see this label, you can trust the product.
- Chemically Inert Plastics: For sleeves and negative holders, look for polyester (often sold as Mylar), polypropylene, or polyethylene. Crucially, avoid PVC (polyvinyl chloride), which is unstable and will release damaging acids.
With that vocabulary, here's what you'll need.
Archival Boxes
Boxes are the best solution for bulk storage. They offer maximum protection from light, dust, and pests. They are generally the most cost-effective way to safely house a large collection of loose photos.
Archival Boxes
The main drawback is accessibility. It's harder to browse and enjoy your photos when they're filed away in boxes. They can also become quite heavy and unwieldy if you overfill them.
Archival Albums
Albums are perfect for curated collections you want to view often. They organize photos into a visual narrative and make it easy to share stories. A high-quality album protects photos while keeping them accessible.
Archival Albums
True archival albums are more expensive per-photo than boxes. You also have to be vigilant about quality; many store-bought albums make false claims and can be just as damaging as the old magnetic ones.
The Process of Safely Storing Your Photos
Ready to get started? Set aside an afternoon, put on some music, and turn this task into a meditative journey through your family's past. Here’s a simple process to follow.
A Simple Workflow for Photo Preservation
Gather and Sort
Create a clean, dry, and spacious work area. Gather all your photos from their various hiding places—shoeboxes, drawers, old albums. This is a great time to start thinking about a basic system for organizing your family photos by person, family branch, or decade.
Handle with Care
Wash and dry your hands thoroughly. Better yet, wear a pair of clean cotton or nitrile gloves. From this point on, only touch the photos by their edges. This simple habit prevents irreversible damage from fingerprints.
Remove from Damaging Enclosures
Carefully liberate your photos from acidic envelopes and, most importantly, those old 'magnetic' albums with the sticky pages. If a photo is firmly stuck, don't force it. You can find gentle techniques for DIY physical photo repair that can help.
Identify and Label (Gently)
Using a soft graphite pencil (never a pen), gently write any identifying information—names, dates, places—on the back border of the photo. Even better, place the photo in its archival sleeve and write the information on the sleeve itself.
Sleeve or Interleave
Place each photo in its own archival plastic sleeve. For bulk storage in boxes, you can also place acid-free paper between each print to prevent them from sticking to each other over time.
Box or Bind
Place your sleeved or interleaved photos into your archival box or album. Don't over-pack the boxes; this can cause prints to bend or warp. Store boxes horizontally to keep the photos flat.
Find the Right Spot
This is the final, crucial step. Store your newly preserved collection in the most stable environment in your home. An interior closet in a bedroom or hallway is often the perfect place. It’s dark, protected from exterior wall temperature changes, and benefits from your home's HVAC system.
Handling Negatives, Slides, and Unique Formats
Your preservation project might include more than just paper prints. Negatives and slides are especially important because they are the original source material—the master copy from which all prints were made. Their quality is often far higher than the corresponding print.
-
Negatives and Slides: Treat them with the same care as prints. They are extremely susceptible to scratches, dust, and fingerprints. Store them in archival sleeves specifically designed for film strips or individual slides. This not only protects them but also makes it far easier when you decide it's time to digitize your slides and negatives at home.
-
Older Formats: If you have very old photographs like tintypes, daguerreotypes, or ambrotypes, these require specialized care. They are often housed in cases for a reason—the image surface is incredibly fragile. It's often best to consult a professional photo conservator for these irreplaceable items.
The 'Magnetic' Album Trap
Those peel-and-stick photo albums, popular from the 1970s through the 90s, are one of the most destructive forces in photo history. The cardboard pages are highly acidic, the adhesive strips leave a permanent, oily residue that discolors photos, and the clear plastic sheet is often PVC, which slowly releases chemicals that fade the image. Removing photos from these is a top priority for anyone tackling a parent's old photo collection.
The Physical and the Digital: A Complete Archive
Protecting the physical photograph is a profound act of stewardship. You are preserving an artifact that was held by the people in the picture. You are ensuring it can be held by the people who come after them.
But even the best archival storage can't protect against fire, flood, or loss. This is why physical preservation and digital preservation are two halves of a whole. Once your photos are physically safe, creating a high-quality digital copy is the ultimate insurance policy.
This is why we built Memory Murals. It’s not just about scanning a photo; it’s about creating a permanent, private home for the story that goes with it. A digital copy lets you restore faded colors, zoom in on details, and—most importantly—share the image and its history with family anywhere in the world without ever risking the one-of-a-kind original.
When you pair a physically preserved photograph with its digital story, you create something truly permanent. You honor the object and liberate the memory. If you're ready to build that second, digital half of your family archive, you can start your own Memory Mural today.
Taking the time to do this work is more than an organizational project. It’s a way of spending time with your family, of re-discovering stories and seeing familiar faces in a new light. In the end, the physical photo is a tangible link to a moment, a person, a life. Preserving it is an act of love, ensuring that connection remains strong enough for the next generation to grasp.
Get 50 questions to ask your parents — before the stories are gone
The exact prompts families use to draw out the stories nobody ever wrote down. Free, straight to your inbox.
No spam. Unsubscribe anytime.
Frequently asked questions
What is the best way to store old physical photos?
The best way to store old photos is in archival-quality, acid-free, lignin-free boxes or albums. Keep them in a cool, dark, and dry place with stable humidity, like a closet in the main living area of your home. Avoid attics, basements, and garages, where temperature and moisture fluctuations can cause rapid damage. Use archival sleeves to protect individual prints from scratches and environmental factors.
Should I keep photos in old magnetic albums?
No, you should remove photos from old 'magnetic' albums as soon as possible. The adhesive strips contain acid that yellows the paper and can permanently bond to the photo's surface, causing irreversible damage. The plastic cover sheets often contain PVC, which off-gases chemicals that accelerate fading and deterioration. It's a slow-motion disaster for your precious memories.
How do I handle old photos without damaging them?
Always handle old photos with clean, dry hands, or preferably, by wearing clean cotton or nitrile gloves. This prevents oils, salts, and dirt from your skin from transferring to the delicate emulsion. Hold photos and negatives by their edges to avoid touching the image surface. Work on a clean, flat surface and never use pens, tape, or paper clips on them.
What is the ideal temperature and humidity for storing photos?
Archival experts recommend a stable, cool, and dry environment. Aim for a temperature at or below 70°F (21°C) and a relative humidity between 30% and 40%. Most importantly, avoid fluctuations. A consistent environment, like that found in an interior closet of a climate-controlled home, is far better than a location with extreme temperature and humidity swings, such as an attic or basement.
Why are attics and basements bad for photo storage?
Attics and basements are the worst places to store photos due to extreme and frequent fluctuations in temperature and humidity. Attics get very hot in the summer, accelerating chemical decay. Basements are often damp, promoting mold and mildew growth and causing photos to stick together. Both locations are also more prone to pests. The lack of climate control makes them high-risk environments for fragile organic materials like photographs.
About the author
Patrick Moore, Founder of Memory Murals
Patrick Moore is the founder of Memory Murals. He built it after realizing how much of his own family's history had quietly slipped away — to help families preserve their stories, voices, and photos while they still can.
Related Stories
How-To Guides
What to Do with Your Parents' Photo Collection: A Gentle Estate Guide
A practical, emotionally honest guide for going through your parents' photo collection — whether you're cleaning out a house after a death, helping a parent downsize, or staring at the boxes for the third weekend in a row. What to keep, what to let go, what to scan first, and how to forgive yourself for the parts that hurt.
The Memory Murals Team • April 28, 2026
How-To Guides
DIY Photo Repair: A Gentle Guide to Fixing Old Photos Before Scanning
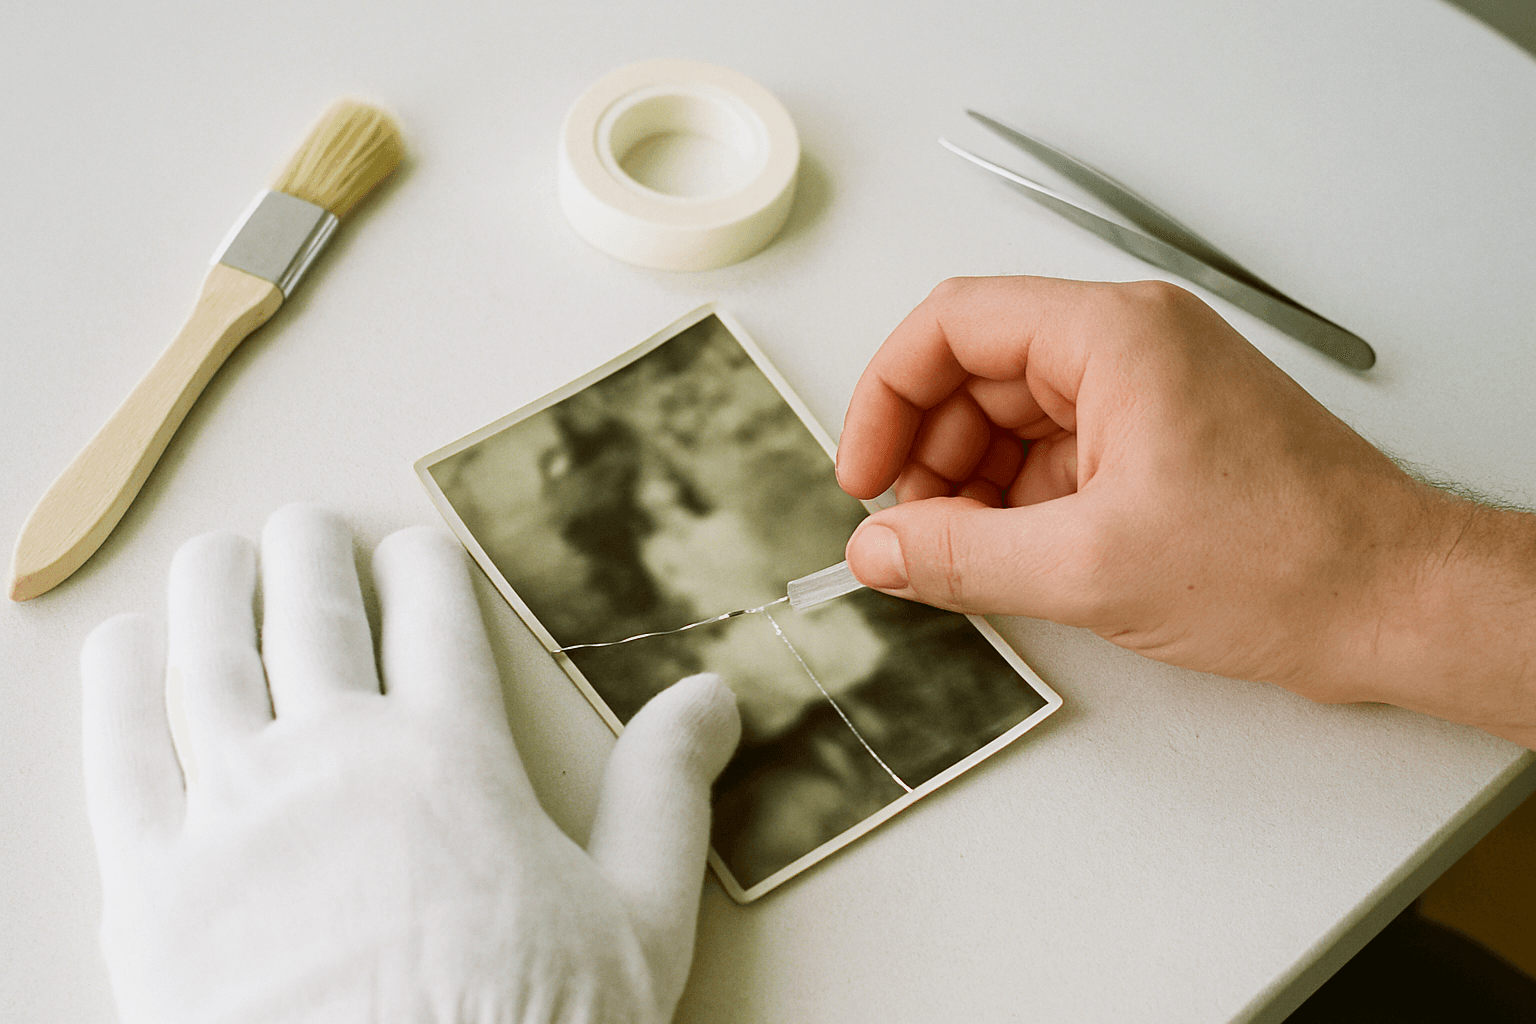
Before you scan that box of family photos, a little physical care can make a world of difference. This guide walks you through simple, archival-safe DIY photo repair for common issues like tears, creases, and surface grime, ensuring you get the best possible digital copy for preservation.
Patrick Moore • June 30, 2026
How-To Guides
Preserving Antique Photos: A Guide to Protecting Tintypes & Daguerreotypes
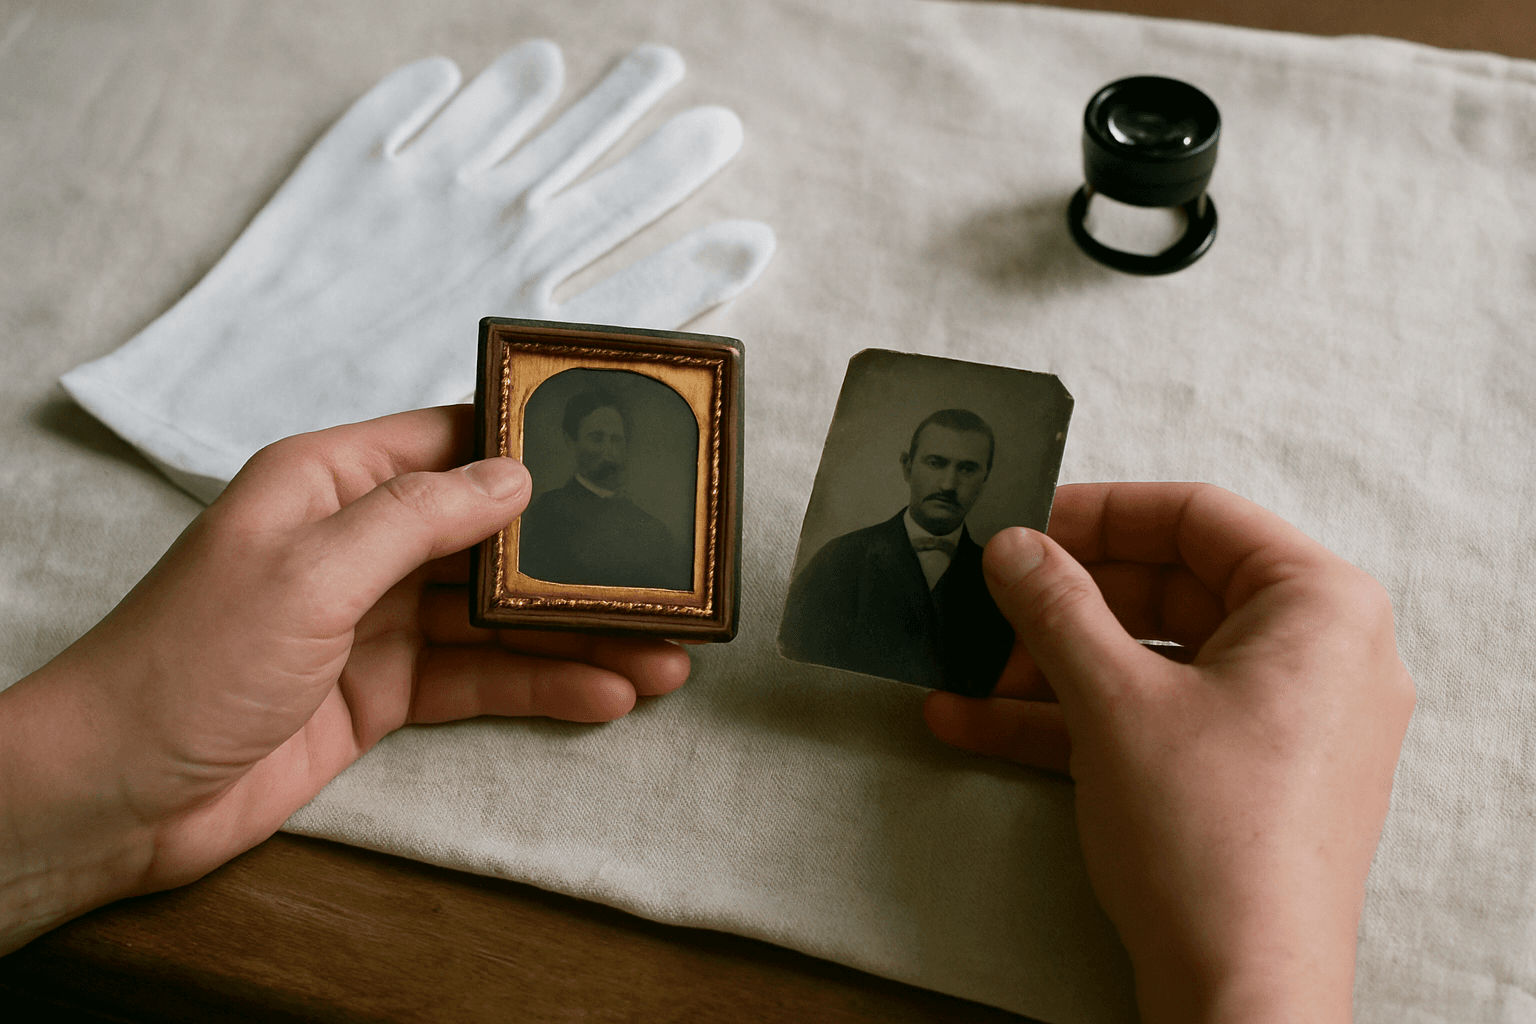
You've found a box of your great-grandparents' photos, but some aren't paper. They're heavy, metallic, and strangely captivating. These tintypes and daguerreotypes are family treasures, but they're also fragile artifacts that require special care. This guide explains how to handle and store them.
Patrick Moore • June 27, 2026
Now give it somewhere to live.
The file you just saved outlasts nothing on its own. Put it where your family can still find it in thirty years.