
Fixing Old Photos Before You Scan
Before you scan that box of family photos, a little physical care can make a world of difference. This guide walks you through simple, archival-safe DIY photo repair for common issues like tears, creases, and surface grime, ensuring you get the best possible digital copy for preservation.
Patrick Moore, Founder • June 30, 2026

There’s a particular kind of quiet reverence that settles in when you open a box of old family photographs. The faint, papery scent, the weight of a life held in a four-by-six-inch frame. You find a picture of your grandmother as a young woman, laughing on a picnic blanket, but a sharp crease runs right across the image, distorting her smile.
Or maybe it’s a photo of your dad with his first car, a proud moment captured in black and white, now slightly torn at the corner from decades of being shuffled around. Your first instinct is to save it, to fix it. But where do you even begin? The fear of making things worse is real.
While complex restoration is the work of professionals, many common issues can be gently addressed at home before you ever press the 'scan' button. The goal isn't perfection—it's preparation. A little physical care can dramatically improve the quality of the digital copy you create, giving you a much better foundation for permanent preservation.
This isn't about erasing the evidence of a life lived; it's about stabilizing these precious objects so their stories can continue to be told. Let's walk through a few simple, safe ways to do just that.
The short answer
For basic DIY photo repair at home, focus on gentle stabilization before scanning. Start with clean, dry hands or cotton gloves. Use a soft brush or air blower to remove loose dust. Mend minor tears from the back with archival-safe mending tissue—never use household tape. To flatten curls or creases, gently humidify the photo and press it under heavy books between sheets of archival paper. For surface grime, use a cotton swab lightly dampened with distilled water, testing a corner first. The goal is a cleaner, flatter original for a better scan.
Assessing the Damage: What to Tackle and What to Leave to a Pro
Before you touch a single photo, the most important step is to assess the situation. Just like in medicine, the first principle of photo preservation is to do no harm. Some issues are perfect for a patient, at-home approach, while others require the expertise of a professional photo conservator.
Knowing the difference is key. Trying to fix severe damage without the right training or materials can lead to irreversible harm. Here’s a general guide for when to proceed with caution and when to seek professional help.
Good Candidates for DIY Repair
Minor issues that can be stabilized for a better scan are often safe to handle at home. This includes loose surface dust and debris, minor creases or curls in the paper, fingerprints or light smudges (on glossy photos), and small, clean tears that are not in a critical area like a person's face.
When to Call a Professional Conservator
Significant or complex damage requires an expert. This includes photos with mold, mildew, or heavy water damage; photographs that are stuck to glass or other photos; brittle or flaking images (like tintypes); and large, complex tears that run through important details. Attempting to fix these can cause the image to disintegrate.
If your photos fall into the 'Pro' category, take a deep breath and find a local or mail-in conservation service. It’s an investment in a priceless piece of your family's history.
Gathering Archival-Safe Supplies
Using the right tools is non-negotiable. Household items like Scotch tape, Windex, or craft glue are the enemies of old photos. They contain acids and chemicals that will cause yellowing, brittleness, and permanent staining over time. Building a small, dedicated kit of archival-safe materials is the best thing you can do for your collection.
White Cotton Gloves
The oils and acids on your fingertips can permanently etch fingerprints into a photo's emulsion. A simple pair of cotton gloves prevents this.
Air Blower & Soft Brush
A handheld rubber air blower (like those for cleaning camera lenses) or a very soft, natural-bristle brush is the safest first step for removing loose dust.
Archival Mending Tissue
This is the single most important repair tool. It's a very thin, strong, acid-free paper with a stable, non-yellowing adhesive. It's perfect for mending tears from the back.
Distilled Water & Cotton Swabs
For cleaning surface grime, distilled water is essential as it contains no minerals that can leave deposits. Use high-quality cotton swabs that won't leave fibers behind.
A Gentle Guide to Common Fixes
With your toolkit ready and your photos assessed, you can begin some gentle repairs. Work in a clean, well-lit area, and take your time. This is a process of care, not a race.
A Simple Workflow for Photo Prep
Surface Cleaning
Always start here. Holding the photo by its edges, use your air blower or soft brush to gently remove any loose dust or debris. Work from the center outwards. For stubborn spots or fingerprints on glossy prints, lightly dampen a cotton swab with distilled water, squeeze out all excess, and gently roll it over the spot. Never scrub.
Flattening Curls and Creases
A curled photo or a creased one will create shadows and distortions in a scan. To relax the paper fibers, you can place the photo in a clean, enclosed container with a small dish of water nearby (not touching) for a few hours. Once it feels more pliable, place it between two sheets of clean, archival blotter paper or parchment paper and press it under a stack of heavy books for 2-3 days. This slow, even pressure works wonders.
Mending Minor Tears
For a simple tear, place the photo face down on a clean surface. Carefully align the two edges of the tear so they meet perfectly. Cut a piece of archival mending tissue slightly larger than the tear. Using tweezers, carefully apply it over the tear on the back of the photo and gently burnish it with a bone folder or the back of a spoon to ensure it's secure. This creates a nearly invisible, permanent, and safe repair.
A Critical Warning
Never use household cleaning products, rubbing alcohol, or solvents on your photographs. These substances can instantly dissolve the gelatin emulsion that holds the image, destroying it completely. When in doubt, less is more. Water is the only liquid that should ever touch your photos, and only distilled water at that.
Why Physical Prep Matters for Digital Preservation
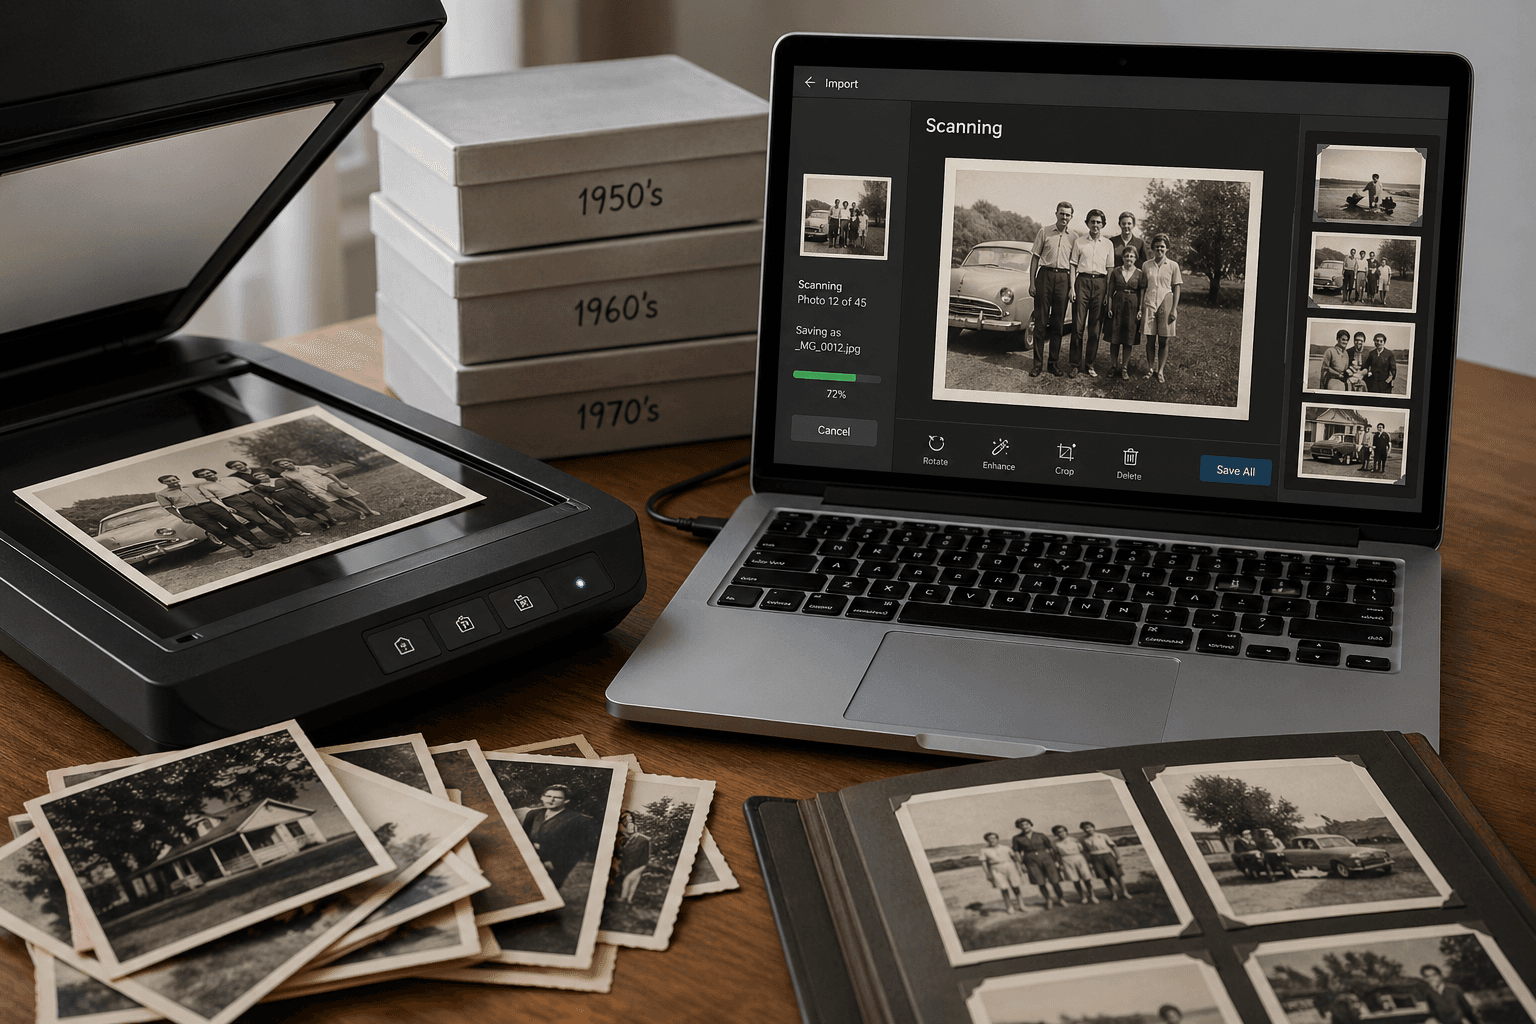
The reason we perform these careful physical repairs has less to do with making the original object look perfect and more to do with creating a high-quality digital surrogate. Every speck of dust, every crease, and every curl is captured by a scanner. By cleaning and flattening the photo first, you are minimizing digital 'noise' and giving yourself a much cleaner file to work with.
Think of it this way: a good scan is the foundation of digital preservation. You can always use software to fix colors or remove scratches later, but you can't easily fix a scan that was blurry because the photo wasn't flat on the scanner bed. Taking the time for this physical prep work is the first and most important step in the process of digitizing your photos at home.
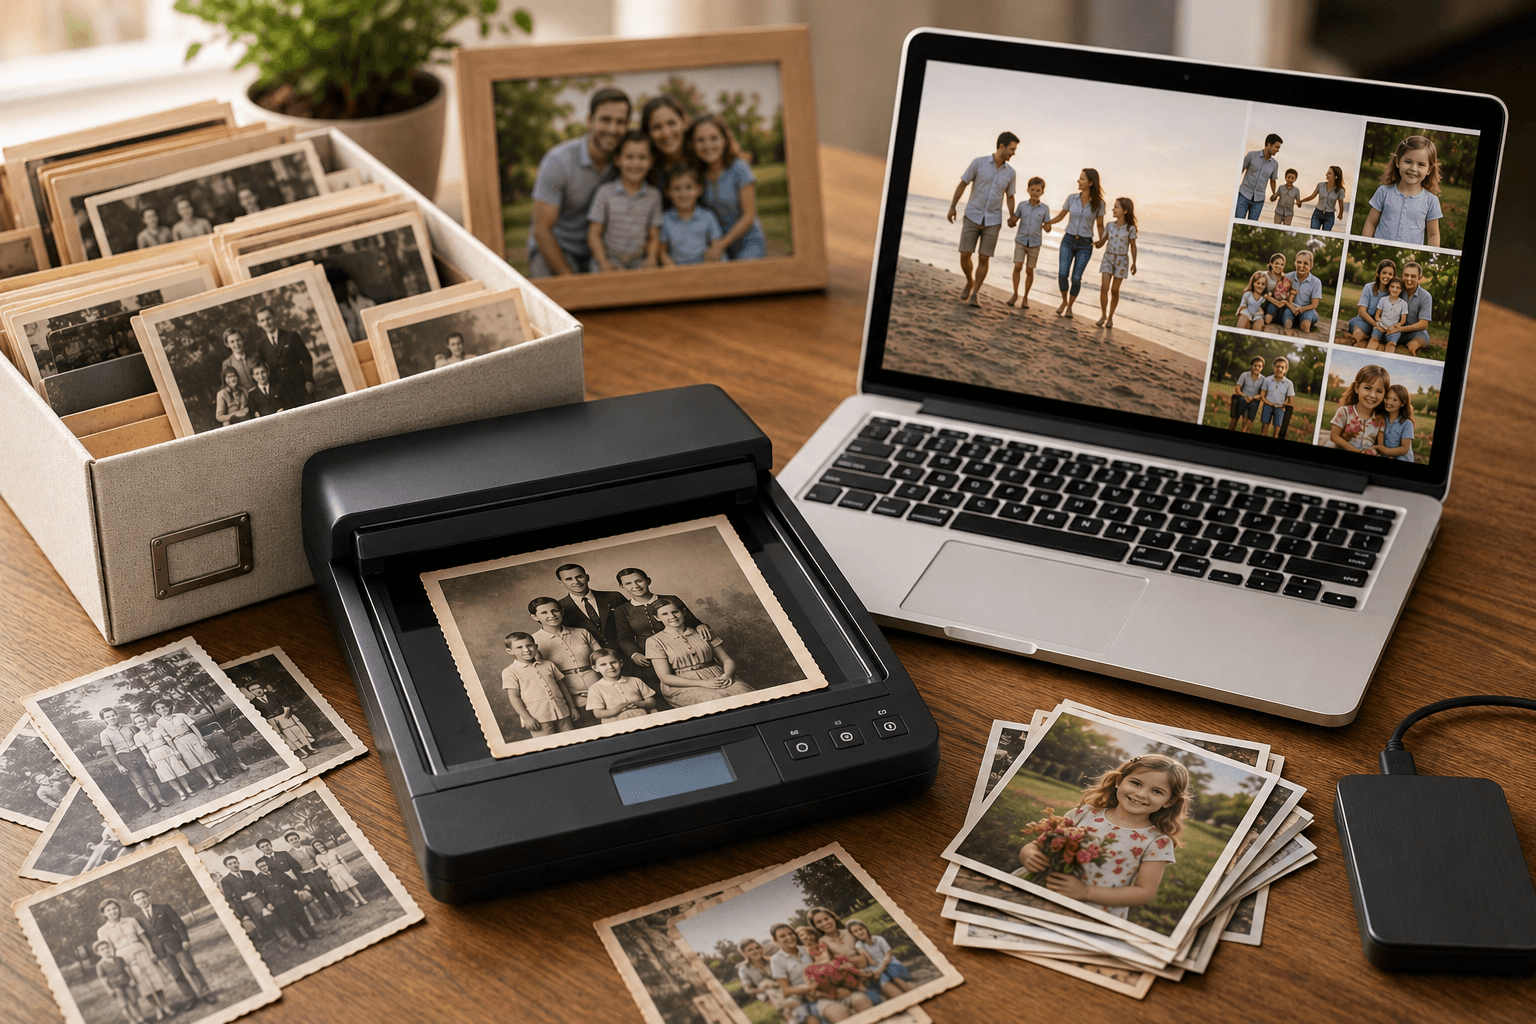
Once you have a high-quality scan, a new world of possibilities opens up. While this guide focuses on physical repair, powerful AI photo restoration tools can then digitally repair fading, scratches, and even recreate missing pieces with surprising accuracy. But their success depends entirely on the quality of the scan you feed them.
Ultimately, the restored image is only half the battle. The real treasure is the story it holds. After you restore old photos, the next step is to preserve the story that gives the image its soul—who is in it, where it was taken, and what that moment meant.
These repaired photographs are not just images; they are portals to memory. They are the conversation starters, the keepers of family lore. Once your photos are scanned and restored, they deserve a home that protects not just the pixels, but the context. That’s why we built Memory Murals, a private space to pair these restored images with the voices and stories that give them meaning. You can start your family's private archive today and ensure these memories are cherished for generations to come.
Frequently asked questions
What materials do I need for basic photo repair at home?
For basic DIY photo repair at home, you'll want a small, archival-safe toolkit. This includes white cotton gloves to prevent fingerprints, a soft-bristled brush or air blower for dust, microfiber cloths, and archival mending tissue for tears. For cleaning minor grime, use cotton swabs and distilled water. Avoid regular tape and household cleaners at all costs, as they will cause permanent damage over time. A pair of tweezers can also be helpful for handling delicate pieces.
Can I fix a torn photo without tape?
Yes, and you absolutely should fix a torn photo without using standard household tape. Regular tape is acidic and will yellow and damage the photo over time. The correct method is to use archival mending tissue, which is a very thin, acid-free paper with a non-damaging adhesive. Apply it carefully to the back of the photograph to join the tear. This provides a stable, long-lasting repair that won't harm the original image and is nearly invisible from the front.
How do you clean old photos before scanning?
Start by gently removing loose dust and debris with a canned air blower or a very soft, clean brush. For surface dirt or fingerprints, lightly dampen a cotton swab with distilled water—never tap water, which contains minerals. Squeeze out any excess moisture before gently wiping the affected area in a circular motion. Always test on a small, inconspicuous corner first. Never use alcohol or household cleaning products, as they can dissolve the photo's emulsion and permanently ruin the image.
Is it better to repair a photo before or after scanning?
It's best to perform gentle physical repairs before scanning. Flattening creases, mending tears, and cleaning surface dust will result in a much better digital copy. A flat, clean photo scans with fewer shadows and distortions, giving digital restoration tools a better starting point. Think of it as prepping the 'master copy.' While major color correction and scratch removal are best handled digitally after scanning, the initial physical prep work is a crucial first step for achieving the best results.
How can I flatten a curled or creased old photograph?
To flatten a curled photo, you can carefully reintroduce a small amount of humidity. Place it in a clean, enclosed container (like a plastic bin with a lid) with a small dish of distilled water nearby, but not touching the photo. After an hour or two, the photo should be more pliable. Then, place it between two sheets of archival paper or blotter paper and press it under a stack of heavy books for several days. This slow, gentle process helps relax the paper fibers without causing damage.
About the author
Patrick Moore, Founder of Memory Murals
Patrick Moore is the founder of Memory Murals. He built it after realizing how much of his own family's history had quietly slipped away — to help families preserve their stories, voices, and photos while they still can.
Related Stories
How-To Guides
How to Digitize Old Photos at Home in 2026 (No Scanner Required)
A practical, no-fluff guide to turning a shoebox of old family photos into a digital archive — using just your phone, a flatbed scanner, or a mail-in service. Real tradeoffs, no jargon.
Patrick Moore • April 28, 2026

Insights
You Restored the Photo. Here's What to Do With It Next.
Restoration cleans the pixels. Preservation is what makes them mean something to the people who'll find the photo thirty years from now. Here's the three-step arc most families miss — and the part that actually lasts.
Patrick Moore • May 21, 2026
Comparisons
Best Services to Digitize Old Family Photos in 2026 (Honest Comparison)
When you have a thousand photos and zero free weekends, paying a service makes sense. But 'per item' isn't 'per photo,' turnaround ranges from a week to three months, and almost nobody tells you what happens to your files. Here's the honest comparison.
Patrick Moore • May 27, 2026