Digitizing Slides & Negatives at Home
Found a box of your family's old slides or negatives? This guide walks you through the best ways to digitize them at home, from using your smartphone to dedicated scanners. We'll help you turn those tiny, forgotten frames into vibrant digital memories you can finally share and preserve.
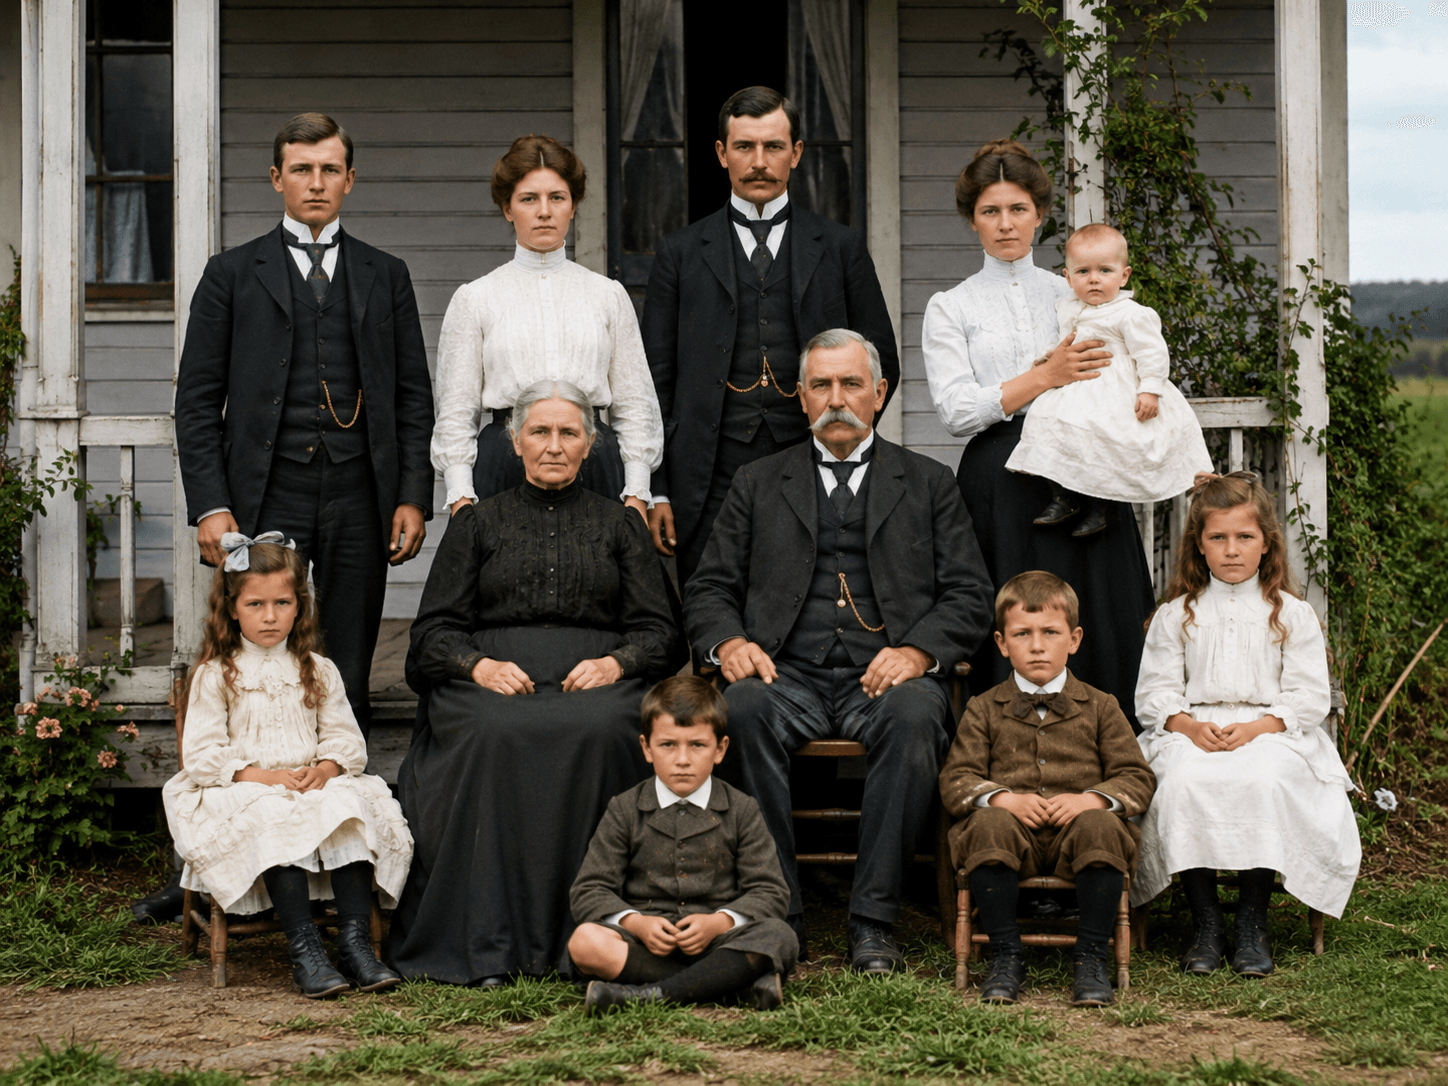
Patrick Moore, Founder • June 18, 2026
My dad passed down his old slide projector, but the bulb had burned out decades ago. With it came a dozen carousels in dusty, mustard-yellow boxes. For years, they sat in a closet, these little 2x2-inch windows into a life I’d only heard stories about. My mom in her wedding dress, my grandfather on his fishing boat, a version of my childhood home I barely recognized.
Holding a slide up to the light, I could just make out the miniature scene trapped inside. It felt so close and yet so inaccessible. I knew these weren't just images; they were moments of a story I was a part of, and I was terrified they’d fade into obscurity in that closet. That’s when I decided to bring them into the light myself.
Digitizing slides and negatives can feel like a daunting technical project, but it’s really an act of translation. You’re taking a memory stored in a physical format and translating it into a language we can all access, share, and preserve for generations. It’s one of the most rewarding projects a family historian can undertake.
The short answer
To digitize photo slides at home, you have three main options. The highest quality comes from a dedicated film and slide scanner, which provides excellent resolution and color depth. A more versatile method is using a DSLR or mirrorless camera with a macro lens and a light source to photograph each slide. The quickest and most affordable option is to use your smartphone with a lightbox and a scanning app, which is great for fast sharing but offers lower archival quality.
Gather and Organize Your Collection
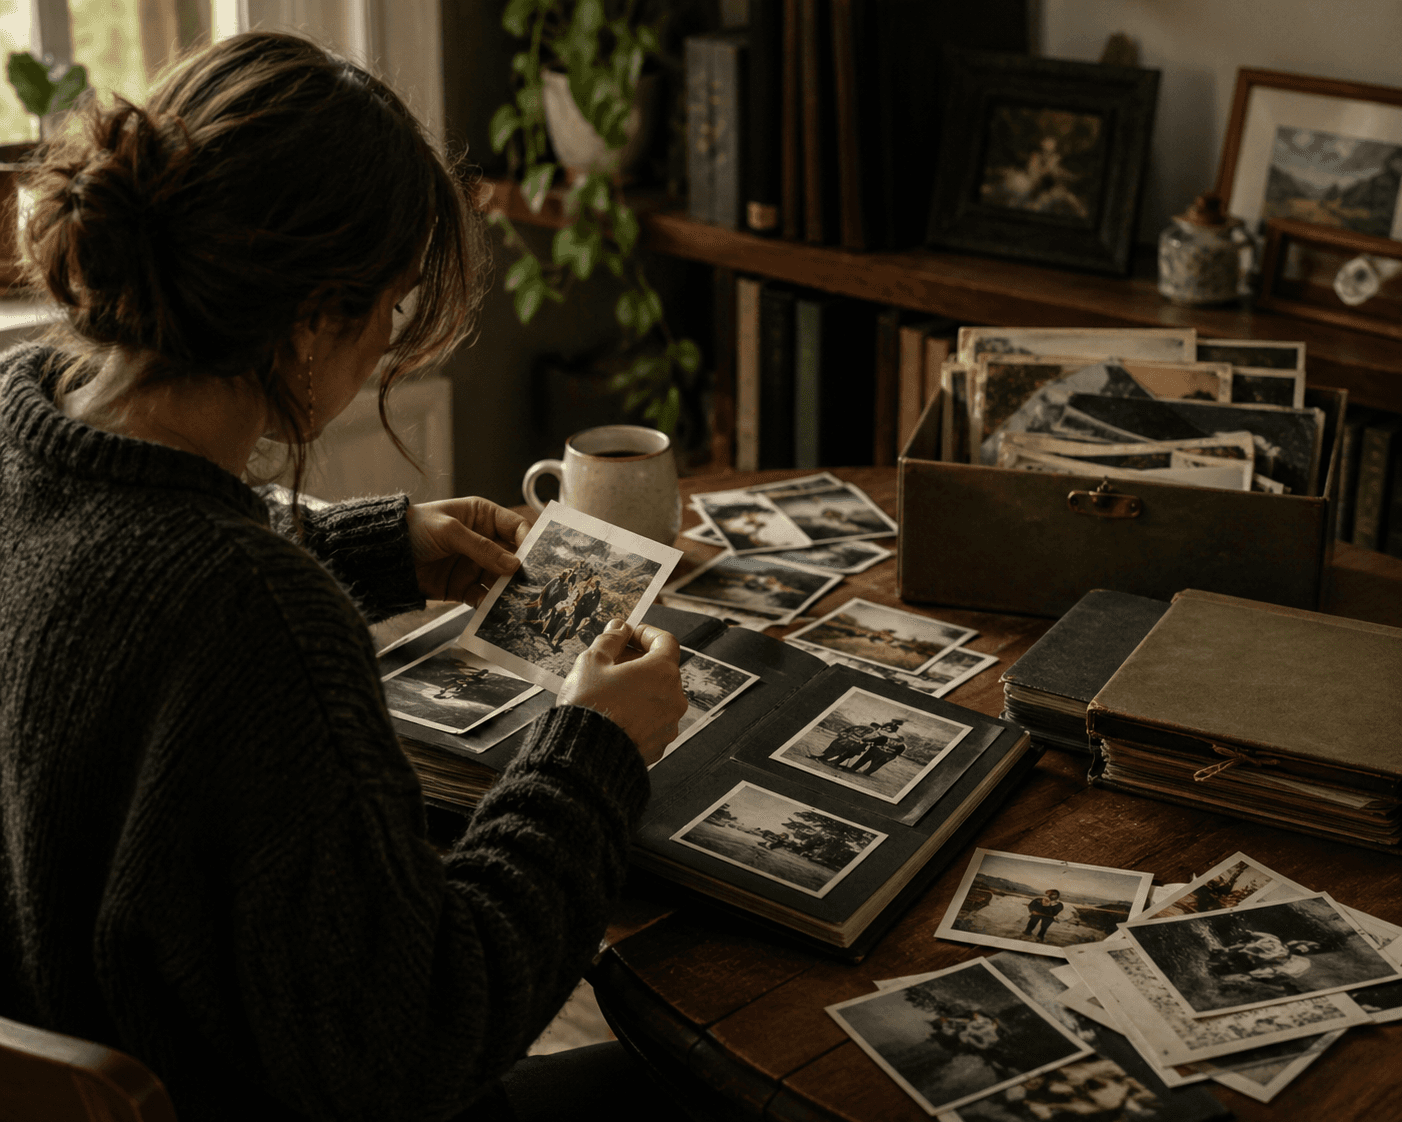
Before you plug in a single cable, the most important work happens on your kitchen table. Lay out your slides and negatives and start to make sense of them. This is your first chance to reconnect with the images.
I recommend wearing soft, white cotton gloves (you can find them at any photo supply store) to avoid adding new fingerprints to decades-old ones. First, give each slide or negative a gentle blast of compressed air to remove loose dust. If you see smudges, a soft, lint-free microfiber cloth can be used to wipe them gently.
As you clean, start sorting. Group them by event, year, or person if you can. If they’re a total mystery, don’t worry—part of the fun is solving those puzzles later. Just getting them organized will make the scanning process much smoother. Our guide on how to organize family photos has some great frameworks that apply here, too.
Handle with Care
Old film emulsion is fragile. Never use water, alcohol, or household cleaning solutions on your slides or negatives. These can permanently damage or destroy the image. Stick to compressed air and dry, soft cloths. If a slide is particularly dirty or appears damaged, it's best to scan it as-is and then use software for cleanup.
Three Ways to Digitize Slides & Negatives
There’s no single “best” way to digitize your collection; there’s only the best way for you. Your choice will depend on your budget, your technical comfort level, and what you plan to do with the final images. Let’s break down the pros and cons of the main approaches.
Dedicated Scanner
Offers the highest resolution and best color accuracy. Software often includes features like dust removal and color restoration. It's built for this one specific, important job.
Dedicated Scanner
Can be a significant investment, and the process is often slow and manual, requiring you to scan a few frames at a time. The learning curve for the software can be steep.
DSLR/Mirrorless Camera
Extremely fast once you're set up—you can digitize hundreds of slides in an hour. If you already own a camera, it can be a cost-effective option. Shooting in RAW gives you maximum editing control.
DSLR/Mirrorless Camera
Requires a specific setup: a camera, a macro lens, a tripod, a light source, and a slide holder. The quality is highly dependent on your gear and technique. You'll also need to invert negatives in post-production.
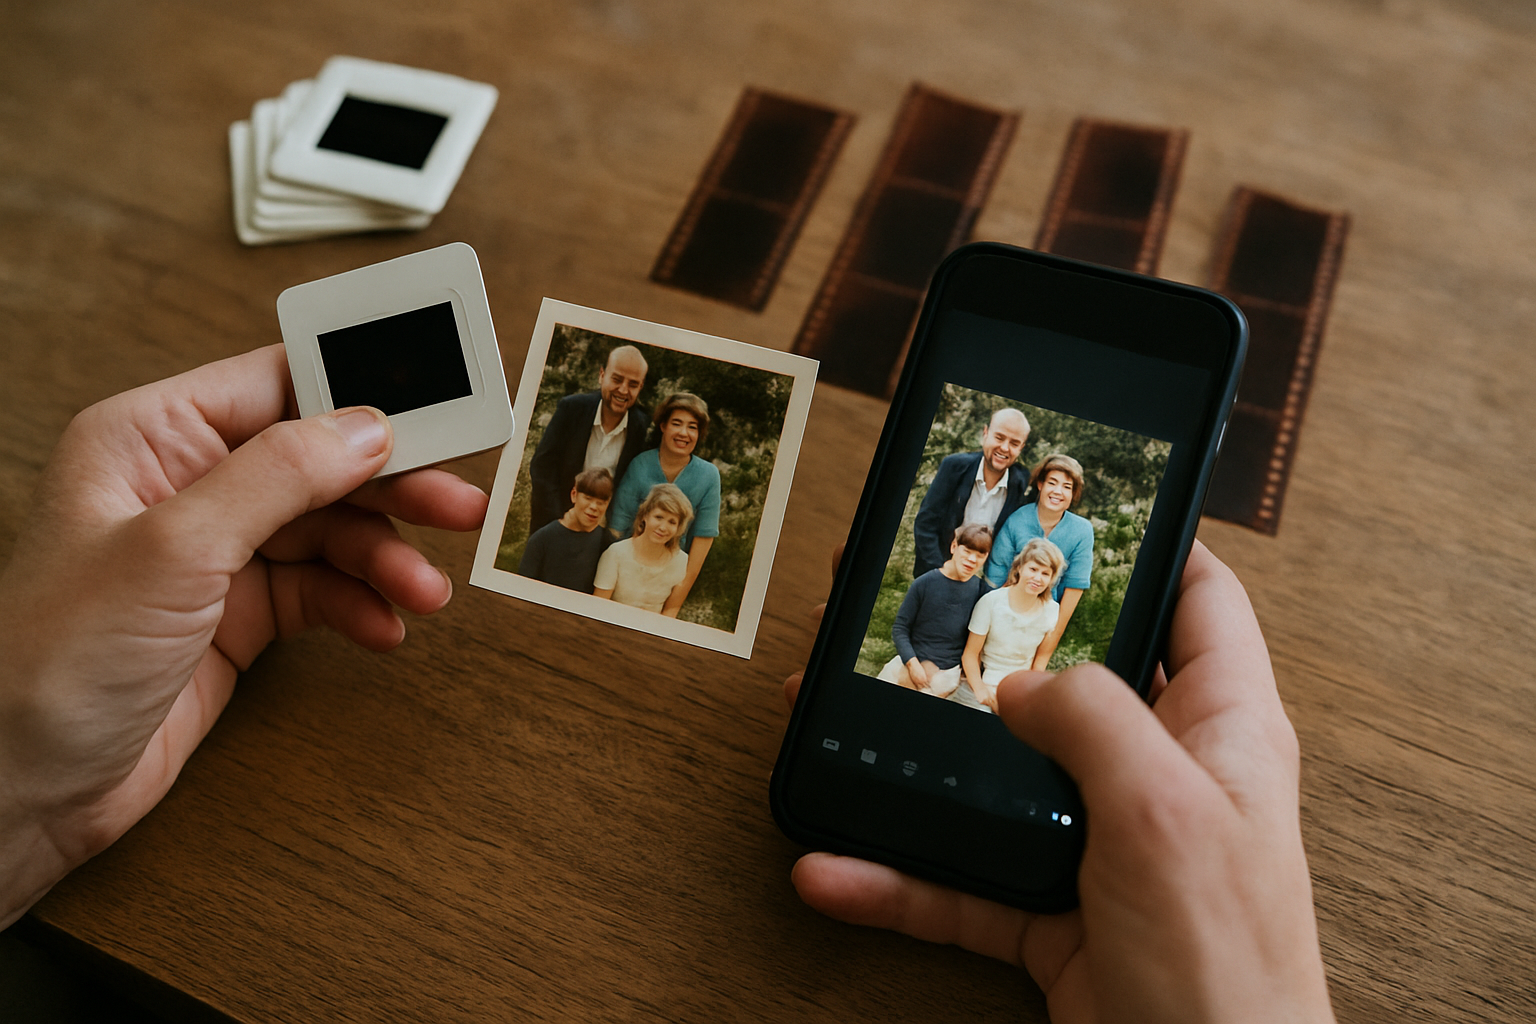
Smartphone
By far the cheapest and most accessible method. You already have the main piece of equipment. Apps make the process simple, and you can share images instantly.
Smartphone
Provides the lowest image quality. Glare, distortion, and poor color accuracy are common challenges. This method is best for quick sharing, not for creating a permanent, high-quality archive.
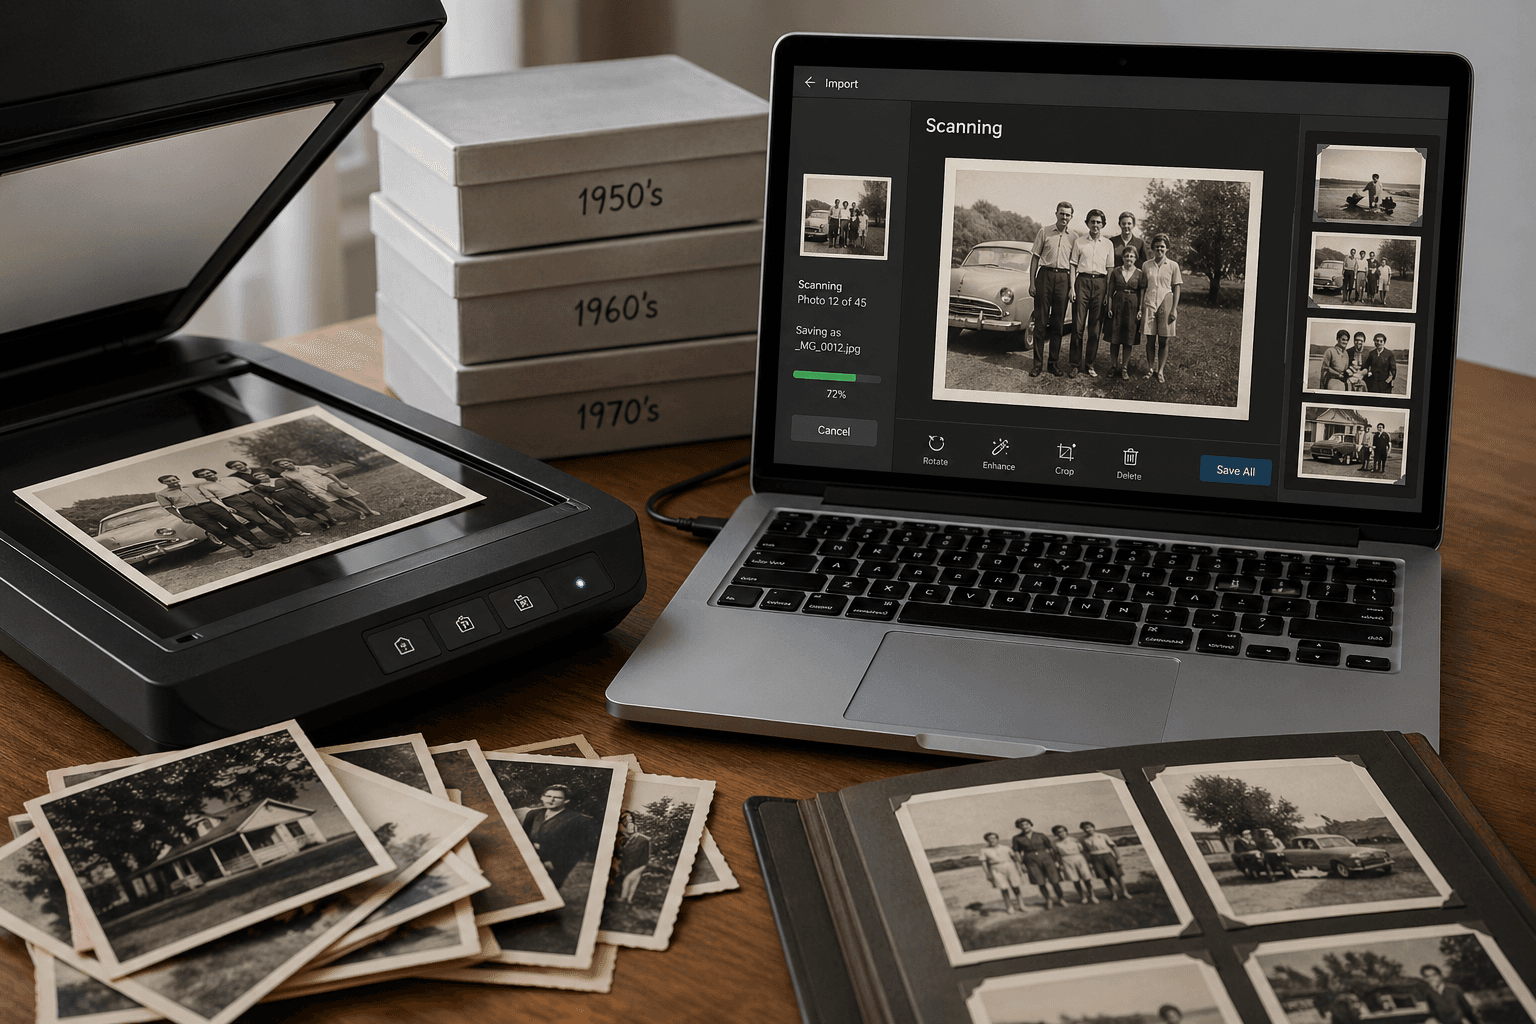
The Gold Standard: Using a Film Scanner
If your goal is archival quality—creating a digital copy that’s as good or better than the original—a dedicated film scanner is your best bet. These aren’t your typical office flatbeds; they are designed with powerful backlights and high-resolution sensors to pull every last detail from that tiny piece of film.
I used an Epson Perfection V600, a popular flatbed with a transparency unit, which worked wonderfully. The process is methodical, almost meditative. You load a strip of negatives or a few slides into a special holder, place it on the scanner bed, and let the machine work its magic.
Scanning with a Dedicated Film Scanner
Install Software & Drivers
Your scanner will come with its own software. Install it and take a few minutes to familiarize yourself with the settings before you begin your first scan.
Clean & Prep
Wipe down the scanner glass with a microfiber cloth. Make sure your slides or negatives are clean and dust-free.
Load the Holder
Carefully place your slides or negatives into the appropriate holder that came with your scanner. Ensure the emulsion side (the duller side) is facing the correct way, as per your scanner's instructions.
Choose Your Settings
This is the most critical step. For archival quality, scan at 3200-4000 DPI and save as a TIFF file. TIFFs are uncompressed, preserving all the image data. You can create smaller JPEGs for sharing later.
Preview and Scan
Use the preview function to crop the image and make initial adjustments to brightness or color. Many scanner programs have a 'color restoration' feature that can work wonders on faded film. Once you're happy, hit scan.
Save and Back Up
Create an organized folder system for your scans. I recommend a YEAR-MONTH-EVENT naming convention. And please, back up your files immediately to a cloud service or an external hard drive.
Fast & Flexible: Using a DSLR or Mirrorless Camera
If you're an amateur photographer with a decent camera, you might already have most of what you need. This method, often called 'camera scanning,' is incredibly fast and produces fantastic results. The idea is simple: you're taking a high-quality photo of your slide or negative.
The setup is key. You'll need a sturdy tripod to hold your camera perfectly still and parallel to the slide. You'll need a macro lens to focus closely enough to fill the frame. And you'll need a consistent, even light source to illuminate the film from behind—a tablet set to a white screen or a dedicated LED lightbox works perfectly.
Once you're set up, you can fly through a whole carousel of slides in under an hour. For negatives, the process is the same, but you'll need to use software like Adobe Lightroom to 'invert' the colors and create a positive image. The results can be just as good as a dedicated scanner, especially if you know your way around photo editing software. If you find some images are damaged, you can even explore the best AI photo restoration tools to fix them.
Why a Macro Lens?
A true macro lens allows for 1:1 reproduction, meaning the image projected onto your camera's sensor is the same size as the slide itself. This ensures you're using your camera's full resolution to capture every detail without cropping.
The Importance of RAW
Shooting in your camera's RAW format is essential. It captures a much wider range of light and color data than a JPEG. This gives you far more flexibility in post-processing to adjust exposure, correct color casts, and successfully invert negatives.
Bringing Your Digital Memories to Life
Finishing the scan is a huge milestone, but it's not the end of the journey. In fact, it's the start of the best part. Now you have these beautiful, vibrant digital files, ready to be shared. But a folder full of JPEGs isn't a story.
This is your chance to add the context that was never written on the slide mount. Open up the photos and sit with a parent or grandparent. Ask them, "Who is this? Where was this taken? What do you remember about this day?" The digital file is the vessel; the story is the treasure inside. It's the crucial step we discuss in our guide on what to do after you restore old photos: preserve the story.
This is the very reason we built Memory Murals. It was born from the need for a private, permanent home for these newly digitized photos and the stories that give them meaning. A place where you can tag faces, record voice notes, and link memories together to form the true tapestry of your family's history. It’s a quiet, beautiful space designed to last for generations. You can start building your family's private archive here.
Seeing my grandfather’s smile from a 1968 fishing trip, not as a tiny, faded square but as a crystal-clear image on my screen, was a profound experience. It wasn’t about recovering data. It was about recovering a person. The work is worth it. You’re not just saving pictures; you’re saving the people in them.
Frequently asked questions
What is the best way to digitize slides at home?
The best way to digitize slides at home for archival quality is using a dedicated film and slide scanner. These devices are specifically designed with the necessary backlighting and high-resolution sensors to capture maximum detail. For faster, high-quality results, a DSLR or mirrorless camera with a macro lens is an excellent alternative. For quick, casual sharing, a smartphone app combined with a simple lightbox can also work surprisingly well, though with lower overall quality.
Can I digitize negatives with my phone?
Yes, you can digitize negatives with your phone using specialized apps like FilmBox by Photomyne or Kodak Mobile Film Scanner. These apps use your phone's camera to capture the image and then digitally invert the colors from negative to positive. For best results, you'll need a smooth, even backlight source, such as a lightbox or a tablet screen set to pure white. While convenient, the quality won't match a dedicated scanner.
Do I need a special scanner for slides and negatives?
Yes, to properly scan slides and negatives, you need a scanner with a built-in transparency unit or a dedicated film scanner. A standard document scanner won't work because it lights the subject from the front. Slides and negatives require a backlight to shine through the film. Some flatbed scanners come with this feature, but for the highest quality, a dedicated film scanner is specifically designed for the task and yields superior results.
What resolution should I scan slides at?
For archival purposes, you should scan 35mm slides at a minimum resolution of 3000 DPI (dots per inch), with 4000 DPI being a common recommendation for high-quality results. This resolution captures sufficient detail to allow for large prints and cropping without significant quality loss. For general viewing and online sharing, a lower resolution like 2400 DPI might be adequate. Always save the archival scans as uncompressed TIFF files to preserve all the captured data.
How do I clean old slides before scanning?
Before scanning, gently clean old slides to remove dust and debris that can show up as specks on your digital image. The safest method is to use a can of compressed air to blow off loose particles. For fingerprints or smudges, use a soft, lint-free microfiber cloth, wiping gently from the center outwards. For stubborn grime, you can lightly dampen the cloth with a specialized film cleaner, but never spray liquid directly onto the slide. Always wear cotton gloves to prevent new fingerprints.
About the author
Patrick Moore, Founder of Memory Murals
Patrick Moore is the founder of Memory Murals. He built it after realizing how much of his own family's history had quietly slipped away — to help families preserve their stories, voices, and photos while they still can.
Related Stories
How-To Guides
How to Digitize Old Photos at Home in 2026 (No Scanner Required)
A practical, no-fluff guide to turning a shoebox of old family photos into a digital archive — using just your phone, a flatbed scanner, or a mail-in service. Real tradeoffs, no jargon.
Patrick Moore • April 28, 2026
How-To Guides
What to Do with Your Parents' Photo Collection: A Gentle Estate Guide
A practical, emotionally honest guide for going through your parents' photo collection — whether you're cleaning out a house after a death, helping a parent downsize, or staring at the boxes for the third weekend in a row. What to keep, what to let go, what to scan first, and how to forgive yourself for the parts that hurt.
The Memory Murals Team • April 28, 2026
Insights
You Restored the Photo. Here's What to Do With It Next.
Restoration cleans the pixels. Preservation is what makes them mean something to the people who'll find the photo thirty years from now. Here's the three-step arc most families miss — and the part that actually lasts.
Patrick Moore • May 21, 2026