
How to Digitize Old Photos at Home in 2026
A practical, no-fluff guide to turning a shoebox of old family photos into a digital archive — using just your phone, a flatbed scanner, or a mail-in service. Real tradeoffs, no jargon.
Patrick Moore, Founder • April 28, 2026
The shoebox lived on the top shelf of our mom's hall closet for thirty-something years. We finally pulled it down last winter. Inside: roughly six hundred photographs from the late seventies through the early two thousands. A wedding. Two babies (us). A trip to Yellowstone where, apparently, somebody got a perm.
A lot of them were starting to fade. The reds had gone orange. A few of the Polaroids had bled at the edges, color seeping into the white border like a watermark. Nothing was labeled.
We sat on the carpet with a glass of wine and started Googling "how to digitize old photos at home" at eleven p.m. on a Tuesday. The advice ranged from "buy a $400 scanner" to "just take a picture of it with your phone, you'll be fine" to long Reddit threads about archival-grade DPI settings that made our eyes glaze over.
So we figured it out the slow way. Here's the version we wish we'd had.
The shortest possible answer
For 90% of people: use your phone with Google PhotoScan or Photomyne for normal prints. Use a flatbed scanner only for fragile heirlooms or if you want gallery-print quality. Mail-in services make sense if you have 1,000+ photos and zero free weekends. That's it. The rest of this post is the why and the how.
If the same closet also has VHS tapes, camcorder cassettes, or a slide carousel, that's a different conversion project — see what to do with old VHS tapes for the playbook on those.
Before you touch anything fragile
Don't bulk-scan brittle photos, Polaroids, or anything stuck to album pages. Loose or curled prints can survive a phone scan. Sticky album pages can destroy a 1962 wedding photo in two seconds. We talk about this in the Slides, negatives, Polaroids section below — read that first if your shoebox includes any of those.
There are basically four ways to digitize old photos at home (or near-home). Each has a real strength and a real tradeoff. We've tried all of them.
Phone + scan app
The fastest, cheapest, and surprisingly good. Google PhotoScan and Photomyne both auto-correct glare and crop the photo out of the background. You're aiming your phone at a print on a table — that's the whole setup. Quality is "good enough for screen, social media, and most photo books." Not gallery-print quality, but honestly close.
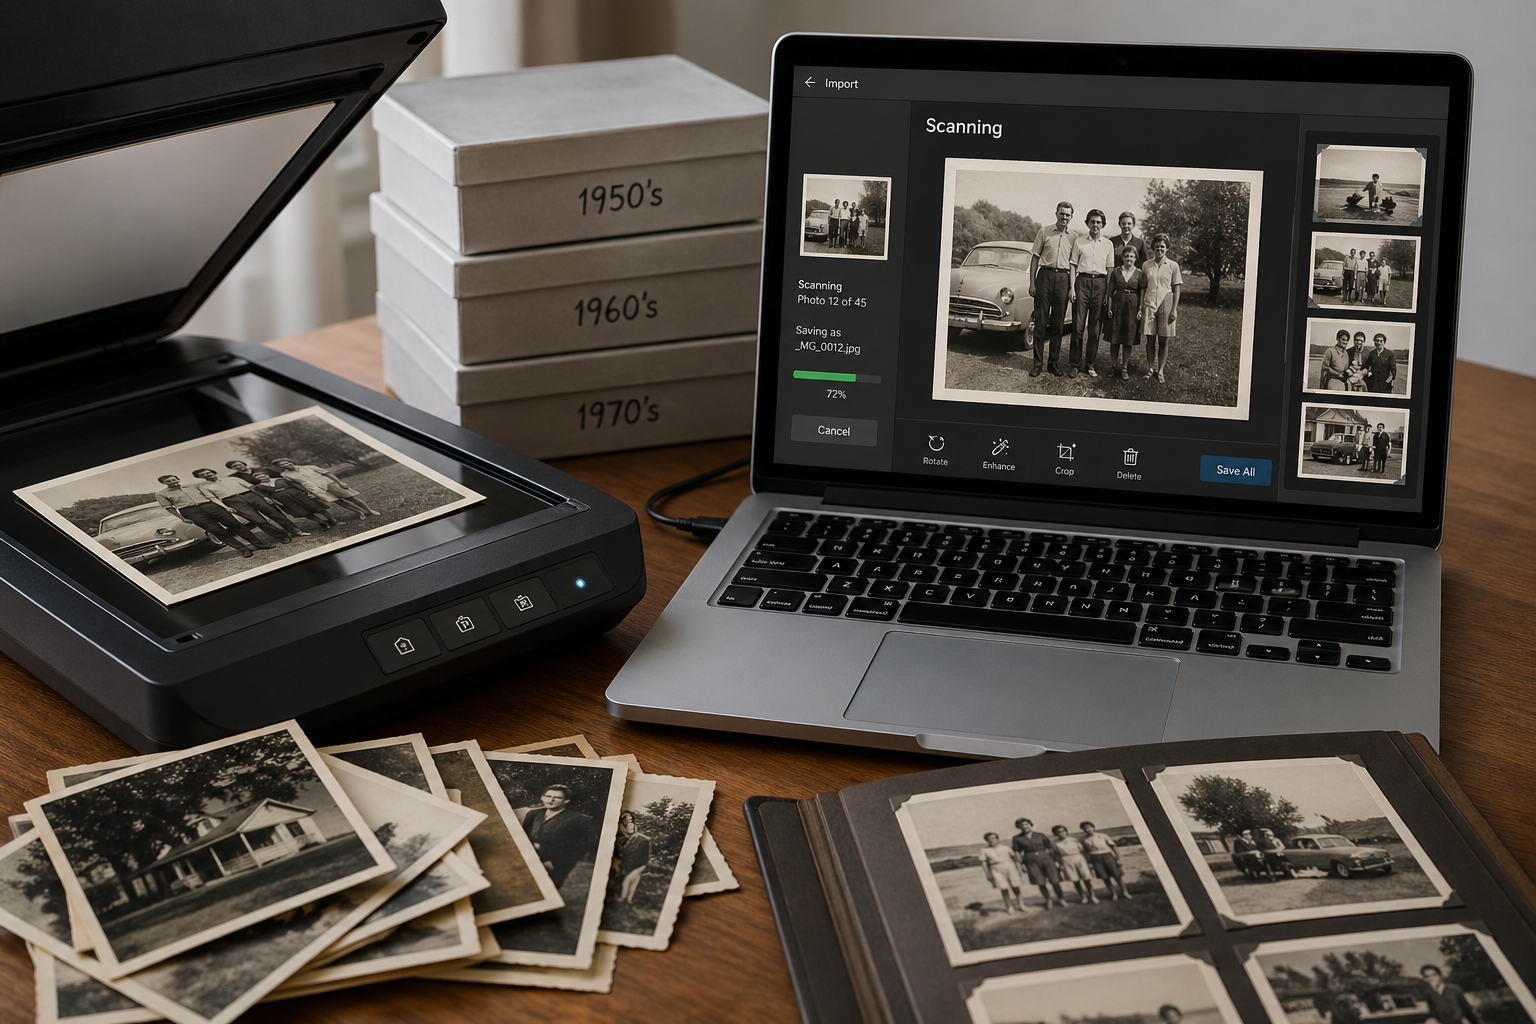
Flatbed scanner
The quality king. An Epson V600 or V850 will pull detail out of a faded print that a phone simply cannot see. Slower — about 30 to 60 seconds per photo if you're being careful. Worth it for heirlooms, large prints, or anything you might want to print poster-size someday.
Wand or sheet-feed scanner
Cheap (~$80–$150), fast for stacks of identical-sized prints. The catch: they bend or roll the photo, which is a non-starter for anything fragile or polaroid-shaped. We used one for a stack of modern 4x6s and it was fine. We would not put a 1958 print through one.
Mail-in service
Legacybox, ScanCafe, EverPresent, and a handful of others will take your shoebox, scan everything, and send it back on a USB stick or to a cloud folder. Costs add up — figure roughly $0.50 to $1.50 per photo. Worth it if you have a thousand-plus and your time is more valuable than your money. Trust tradeoff is real: your originals leave the house.
| Feature | Physical | Digital |
|---|---|---|
| Cost (for ~600 photos) | Free (phone you own) | $200–$400 scanner |
| Time per 100 photos | ~20 minutes | ~60–90 minutes |
| Image quality | Good (screen + small prints) | Excellent (gallery quality) |
| Fragile-photo friendly | Yes (no contact) | Yes (lay flat, lid down gently) |
| Best for | Most people, most photos | Heirlooms, large prints |
Cost (for ~600 photos)
- PhysicalFree (phone you own)
- Digital$200–$400 scanner
Time per 100 photos
- Physical~20 minutes
- Digital~60–90 minutes
Image quality
- PhysicalGood (screen + small prints)
- DigitalExcellent (gallery quality)
Fragile-photo friendly
- PhysicalYes (no contact)
- DigitalYes (lay flat, lid down gently)
Best for
- PhysicalMost people, most photos
- DigitalHeirlooms, large prints
A note on the two methods we left out of the table on purpose. Wand and sheet-feed scanners are a niche pick for one specific job (stacks of modern, identical-sized prints) and not where most people should start. Mail-in services vary wildly by vendor — we compared the best mail-in photo digitizing services head to head — but rough numbers are ~$300–$900 for 600 photos and 4–8 weeks of turnaround. The real cost there isn't dollars — it's letting a box of irreplaceable originals leave your house.
If you're staring at a shoebox and want to be done by Sunday night, here's our honest take: use your phone.
We used Google PhotoScan for the bulk of our 600. Free. No login required. Available on iOS and Android. The auto-glare-removal is genuinely good — it asks you to hover your phone over four corner dots, takes four exposures, and stitches them into one glare-free image.
We tried Photomyne for a stretch. It's faster (auto-detects multiple photos in one shot — you can lay out four prints, take one picture, get four files). But it nudges you toward a paid tier and the auto-crop occasionally clipped a photo's edge. Worth the trial if speed matters more than control.
Free, fast, zero hardware
You already own the only tool you need. A 600-photo shoebox takes about two hours of focused work — not two weekends with a scanner.
Auto-corrects glare and skew
The four-corner technique in PhotoScan handles overhead lights and slightly curled prints better than you'd expect. We were skeptical until we did the side-by-side test.
Not gallery-print quality
A phone sensor in 2026 is better than the flatbed scanners of 2010. But it's still a phone sensor. If you want to print a 24x36 poster from the file later, scan that one on a flatbed.
Inconsistent if you rush
Bad lighting, hand-shake, or tilting the phone gets you blurry corners. The fix is boring: take ten extra seconds per shot. We re-did about 30 of our 600 because we hurried.
This is the workflow we used for our 600-photo shoebox. Took us a Saturday afternoon and one episode of a podcast.
Step 1 — Clear a flat, matte surface
A wood dining table works. Glass tables don't — they reflect. A neutral cloth or a sheet of black construction paper underneath helps the app's edge-detection.
Step 2 — Pick one app and stick with it
Google PhotoScan if you want free and reliable. Photomyne if you want speed and don't mind a paywall later. Don't keep switching mid-batch — file naming and folder behavior differ.
Step 3 — Set up consistent lighting
Daytime, near a window, NOT in direct sunlight. Overhead room lights cause glare. The phone-scan apps handle some glare, not all. If a photo looks washed out on screen, move two feet.
Step 4 — Batch-scan in groups of 50
Empty 50 photos onto the table. Scan them. Pause. Spot-check the gallery. Move them back into a "done" pile in the shoebox before pulling the next 50. This is the only system that prevented us from re-scanning the same photo twice.
Step 5 — Spot-check before tossing anything
Don't toss the originals. Don't even think about it yet. Check 10% of your scans on a real screen (not the phone) before you put the shoebox back on the shelf.
Step 6 — Back up immediately, in two places
The minute you finish a batch, sync to cloud AND copy to an external drive. We've heard too many stories of someone scanning 1,000 photos, leaving them only on a phone, and then dropping the phone in a lake.
~600
Photos in an average shoebox
The family archive of one parent, roughly the late 70s through early 2000s.
~2 hrs
Phone-app time for 600 photos
Real number from our own kitchen-table session, including breaks and a re-scan pile.
$0
Hardware cost beyond your phone
Google PhotoScan is free. Photomyne has a free tier. No scanner required.
We'd be lying if we said the phone method beats a flatbed scanner on quality. It doesn't. An Epson V600 (~$250) will pull color and detail out of a 1965 print that a phone camera physically cannot capture — the dynamic range is just better, and there's no glare physics to fight.
Use a flatbed when:
- You have a small number of true heirlooms (great-grandparents, baby pictures of a parent who's passed, anything irreplaceable).
- You want to print large — anything bigger than 8x10.
- You're scanning slides, negatives, or 35mm film. (You need a flatbed with a transparency adapter for these. The V600 has one — our guide to digitizing slides and negatives at home walks through the full workflow.)
- You want archival-quality TIFF files, not JPEGs, for the long term.
For everything else — vacation prints, school photos, the random 4x6 of a cousin's wedding — phone is fine.
Slides and 35mm negatives. Phones can't handle these well. You need either a flatbed scanner with a transparency adapter (the V600 mentioned above is the standard pick) or a dedicated film scanner (~$150 for a basic one). Phone-based slide-scanning gadgets exist; results are mediocre.
Polaroids. These are the one place where we'd urge real caution. Polaroids have a chemical layer between the front image and the back paper. Sheet-feed scanners and wand scanners can damage that layer. Phone scan is the safest option for Polaroids — no contact, no rollers, no heat. If you have an extremely valuable Polaroid (think: a fading shot from a deceased grandparent), a flatbed scan with the lid lifted at most halfway is the gentle move.
Photos stuck to album pages. Don't peel them. Don't pry. Take a phone-app scan of the photo while it's still on the page. If the album is acidic and actively damaging the print, a paper conservator can sometimes separate them — but that's a whole different post.
We made most of these on the first 50 photos before we got our system right.
Scanning under overhead room lights
Ceiling bulbs guarantee glare on glossy prints. Even the best phone-scan apps can only correct so much.
Saving everything to one giant 'Scans' folder
600 untitled JPEGs in a single folder is technically a backup but it's not a usable archive. Nobody opens it. Nobody finds anything in it later.
Tossing the originals too soon
As soon as the file appears on your phone, it feels safe. It isn't. The phone could die, the cloud could lock you out, the cat could knock the laptop off the table.
Trusting one cloud sync as your only backup
iCloud, Google Photos, OneDrive — any single account is a single point of failure. Account locked, password forgotten, billing lapsed, and the only digital copy of your grandmother's wedding photo is gone.
Scan near a window with overhead lights off
Indirect daylight is the ideal scanning environment. No glare, no color cast, even illumination across the print.
Sub-folder as you go
Make folders like mom-1980s and dad-childhood while you're scanning, not after. Five seconds of organization per batch saves you a frustrating day later.
Keep the originals until two backups exist
The shoebox stays on the shelf until your scans live in at least two places. That's the rule. Originals are the fail-safe; don't retire them prematurely.
Use a two-location backup pattern
At minimum two locations, at least one of them offline (external drive in a closet counts). One cloud sync is a copy, not a backup.
This is the part of the project nobody warns you about. Scanning is the easy half. The hard half is what comes after — sorting, labeling, and giving the photos a real home so they don't just sit in a "Scans" folder you never open again.
Label as you scan, not after
If you wait until the end, you're staring at six hundred files with no context and trying to remember whether the woman in the kitchen is your mom's friend Carol or your dad's Aunt Ruth. We've written before about the box-of-strangers problem — the longer you wait to label, the more impossible it becomes. The people who knew aren't always around to ask.
While you're scanning, type a one-line caption per photo or batch. Even just "summer 1992, lake house, mom + brother + Aunt Lou" beats the wordless file you'd otherwise have.
Don't store them in only one place
Your phone is not a backup. iCloud is not a backup. One external drive is not a backup. Two locations minimum, and at least one of them not connected to the same Apple/Google login as your daily phone. If your account gets locked, you do not want to lose the only digital copy of your grandmother's wedding photo. The pattern is simple — same files, two homes — and we wrote up the version we actually use here.
Will the scans actually outlast a photo album?
Honest answer: yes, if you maintain them. No, if you don't. A JPEG on a hard drive in a closet for thirty years is worse than a photo album on a shelf for thirty years — magnetic media decays and formats become unreadable. But a JPEG that gets migrated forward (cloud, then next-generation cloud, then whatever comes after) lasts forever.
We did a longer comparison of digital archives vs photo albums for anyone weighing the long view. Short version: digital wins, but only if you actually keep the lights on.
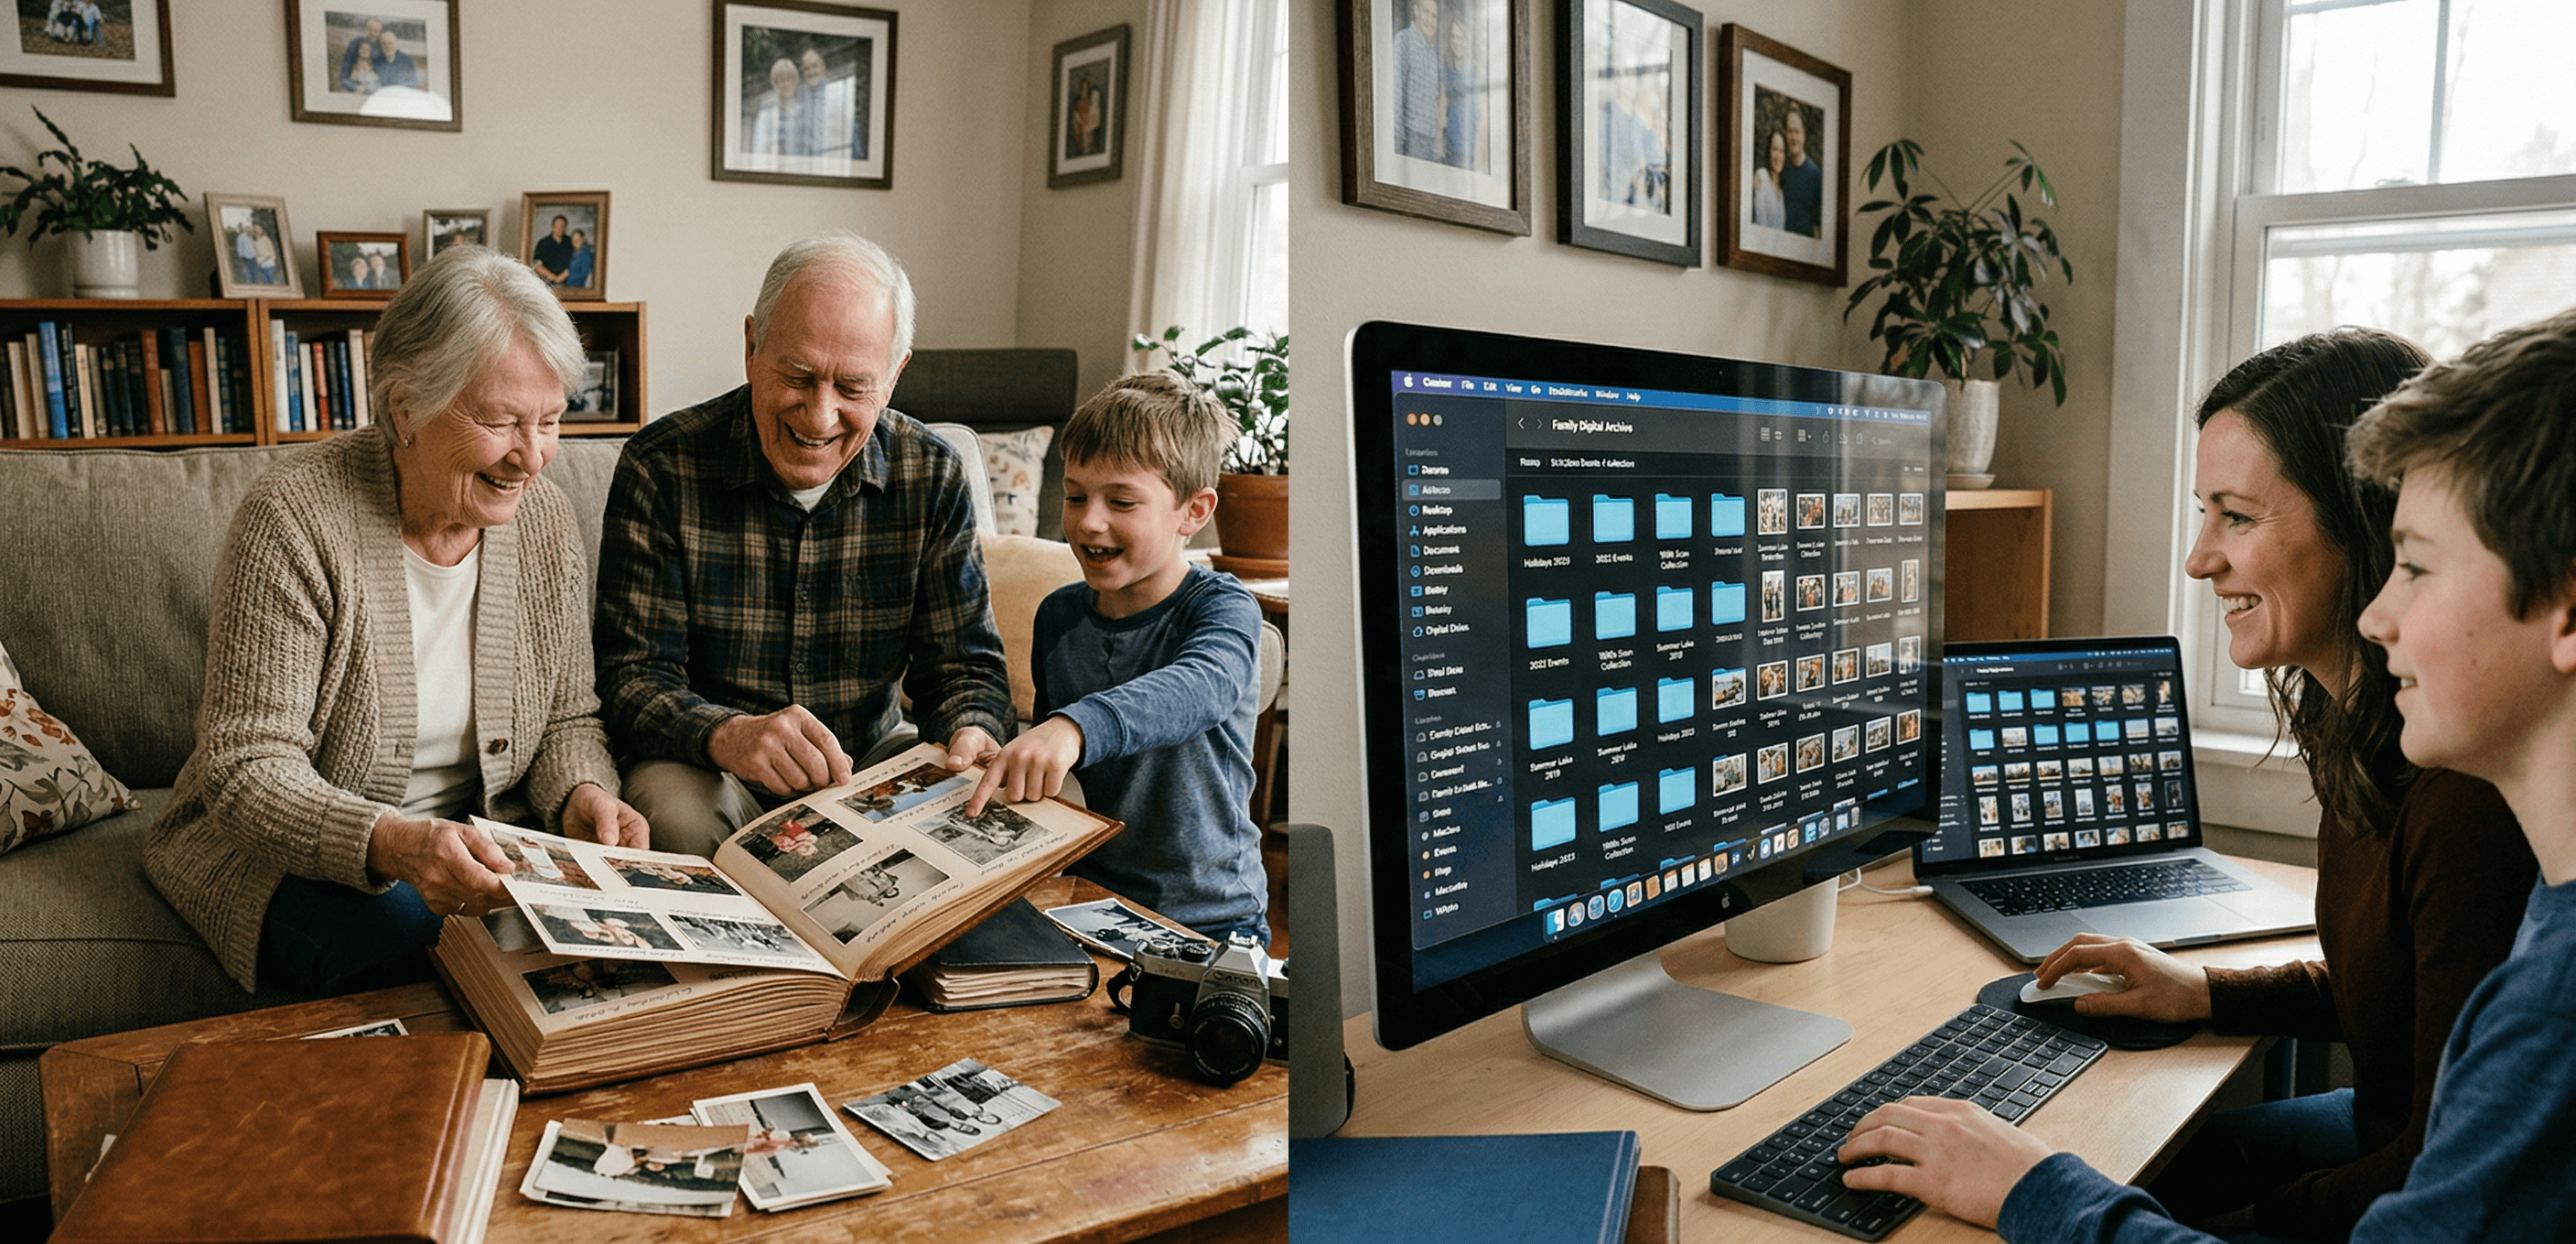
Where do you put 600 newly-scanned photos so they're not just sitting in a folder?
The "Scans" folder on a laptop is where photos go to die. They get backed up, sure, but nobody ever looks at them. The whole point of digitizing was so the family could see them. So at minimum: pull the best 50 into a shared family album, drop the full set into a private archive that's actually organized by person and event, and write a one-line caption for the irreplaceable ones.
If you're not sure where to start, we put together five gentle ways to start a family archive — none of them require a weekend or a system overhaul. They're meant for the version of you who has 600 fresh JPEGs and is already a little tired.
And if the prints in that shoebox are damaged — faded, scratched, water-stained — restoring them is the natural next step after digitizing. We compared the seven best AI photo restoration tools for family photos with the honest tradeoffs of each, so you can match the right tool to the damage you've got.
Our honest recommendation
Phone + Google PhotoScan for the vast majority of your shoebox. Flatbed scanner for a small set of true heirlooms and anything you'll print large. Mail-in service only if you have 1,000+ photos and your weekends are full. Skip the wand scanner unless your prints are modern, identical-sized, and not precious. Whatever method you pick — back up immediately, label as you go, and don't trust a single cloud login as your only safety net.
The harder question, once the scanning's done, is where the finished archive actually lives — a "Scans" folder buried in iCloud is technically a backup but nobody opens it. The shoebox in your mom's closet wasn't on the internet, and the digital version doesn't have to be either; that's why we put privacy at the heart of how we built Memory Murals.
That shoebox lived on a closet shelf for thirty years. The hard part wasn't the scanning. The hard part was admitting we'd been putting it off because it felt enormous, and it wasn't — it was a Saturday afternoon, a podcast, and a glass of wine.
Whatever method you pick, the only real mistake is not starting. Faded photos don't get less faded. People in the photos who could tell you who's who don't get younger. The best version of this project is the one that happens this weekend, not the one that's perfect in your head for another decade.
We'd rather have 600 imperfectly-scanned photos saved than 0 perfect ones still in a closet.
Ready to give your scanned photos a real home? Try Memory Murals free →
Get 50 questions to ask your parents — before the stories are gone
The exact prompts families use to draw out the stories nobody ever wrote down. Free, straight to your inbox.
No spam. Unsubscribe anytime.
Frequently asked questions
Will phone scans look as good as a flatbed?
For everyday viewing, social media, photo books, and prints up to 8x10 — yes, basically. For 24x36 posters, gallery prints, or restoring a faded print where you need to recover detail in the shadows — no, a flatbed is genuinely better. The simplest test: scan one of your photos both ways and view them at 100% on a real screen. You'll know within seconds which method to use for the rest of the shoebox.
How do I handle Polaroids without ruining them?
Phone-scan them. Don't run them through a sheet-feed or wand scanner — the rollers can crack the chemical layer between the image and the backing. If you have a flatbed and want better quality, lay the Polaroid face-down gently and don't press the lid all the way closed. Scan in 600 DPI. For very fragile or sentimental Polaroids, a phone scan is genuinely the safer call even if a flatbed exists.
What's the best way to digitize slides and negatives?
Phone scans won't cut it for slides or negatives. You need a flatbed with a transparency adapter (the Epson V600 is the most-recommended consumer option) or a dedicated film scanner. The cheap phone-attachment slide scanners produce mediocre results — fine for "I just want to see what's on this slide" but not for archive quality. If you have a few hundred slides and don't want to buy a scanner for one project, a mail-in service is a reasonable call.
How do I scan curled or damaged old photos?
Curled prints — flatten them under a stack of books for 24 hours before scanning. For phone-scan, a slight curl is okay; PhotoScan's four-corner technique handles it. For a flatbed, gently weight the corners with something soft. Torn or stuck photos: scan as-is and do digital restoration in a tool like Photoshop or one of the AI restoration apps. Don't try to flatten or un-stick a damaged original physically — you'll cause more damage than you fix.
How long does it actually take to digitize a shoebox of photos?
Real numbers from a typical session: about two hours for 600 phone-scanned photos, including labeling sub-folders by decade. A flatbed run of the same set would have been a full weekend. Mail-in services take 4 to 8 weeks of calendar time but roughly zero hours of yours. The afternoon-on-the-couch version is usually fast enough that the bigger bottleneck is finding the box, not running the scans.
What DPI should I scan family photos at?
300 DPI is the practical floor for photos you'll view on screens or print at original size. 600 DPI is the sweet spot for archive-grade scans — you can crop, enlarge, or print up to 8x10 without quality loss. 1200 DPI is overkill for prints (the original photo doesn't have that much detail) but worth it for slides and negatives. Don't go higher than 600 for prints; you're saving file size for no real gain.
About the author
Patrick Moore, Founder of Memory Murals
Patrick Moore is the founder of Memory Murals. He built it after realizing how much of his own family's history had quietly slipped away — to help families preserve their stories, voices, and photos while they still can.
Related Stories
Comparisons
Digital Family Archive vs Photo Albums: Why the Shoebox Under Your Bed Isn't Enough Anymore
Your family photos are fading, your stories are unrecorded, and your kids can't find anything. Here's why a digital family archive does what photo albums never could — and how to build one without losing what makes physical keepsakes special.
Patrick Moore • April 3, 2026

How-To Guides
What to Do With All the Old Family Photos Nobody Labeled
There's a shoebox on a closet shelf with hundreds of photos of people nobody alive can fully name. Your mom knows who most of them are. She won't, forever. Here's how to fix it this month — before the only memory that still knows goes quiet.
Patrick Moore • April 22, 2026

How-To Guides
DIY Photo Repair: A Gentle Guide to Fixing Old Photos Before Scanning
Before you scan that box of family photos, a little physical care can make a world of difference. This guide walks you through simple, archival-safe DIY photo repair for common issues like tears, creases, and surface grime, ensuring you get the best possible digital copy for preservation.
Patrick Moore • June 30, 2026
Preserve your family's memories in one private place.
Start free in minutes. No credit card required.