
Digitizing Old Home Movies: Super 8 & 16mm
That box of old film reels in the attic is a treasure chest of silent stories. This guide walks you through preserving them, covering everything from Super 8 to 16mm film. Learn the pros and cons of DIY methods versus professional services to safely digitize your family's irreplaceable home movies.
Patrick Moore, Founder • July 8, 2026
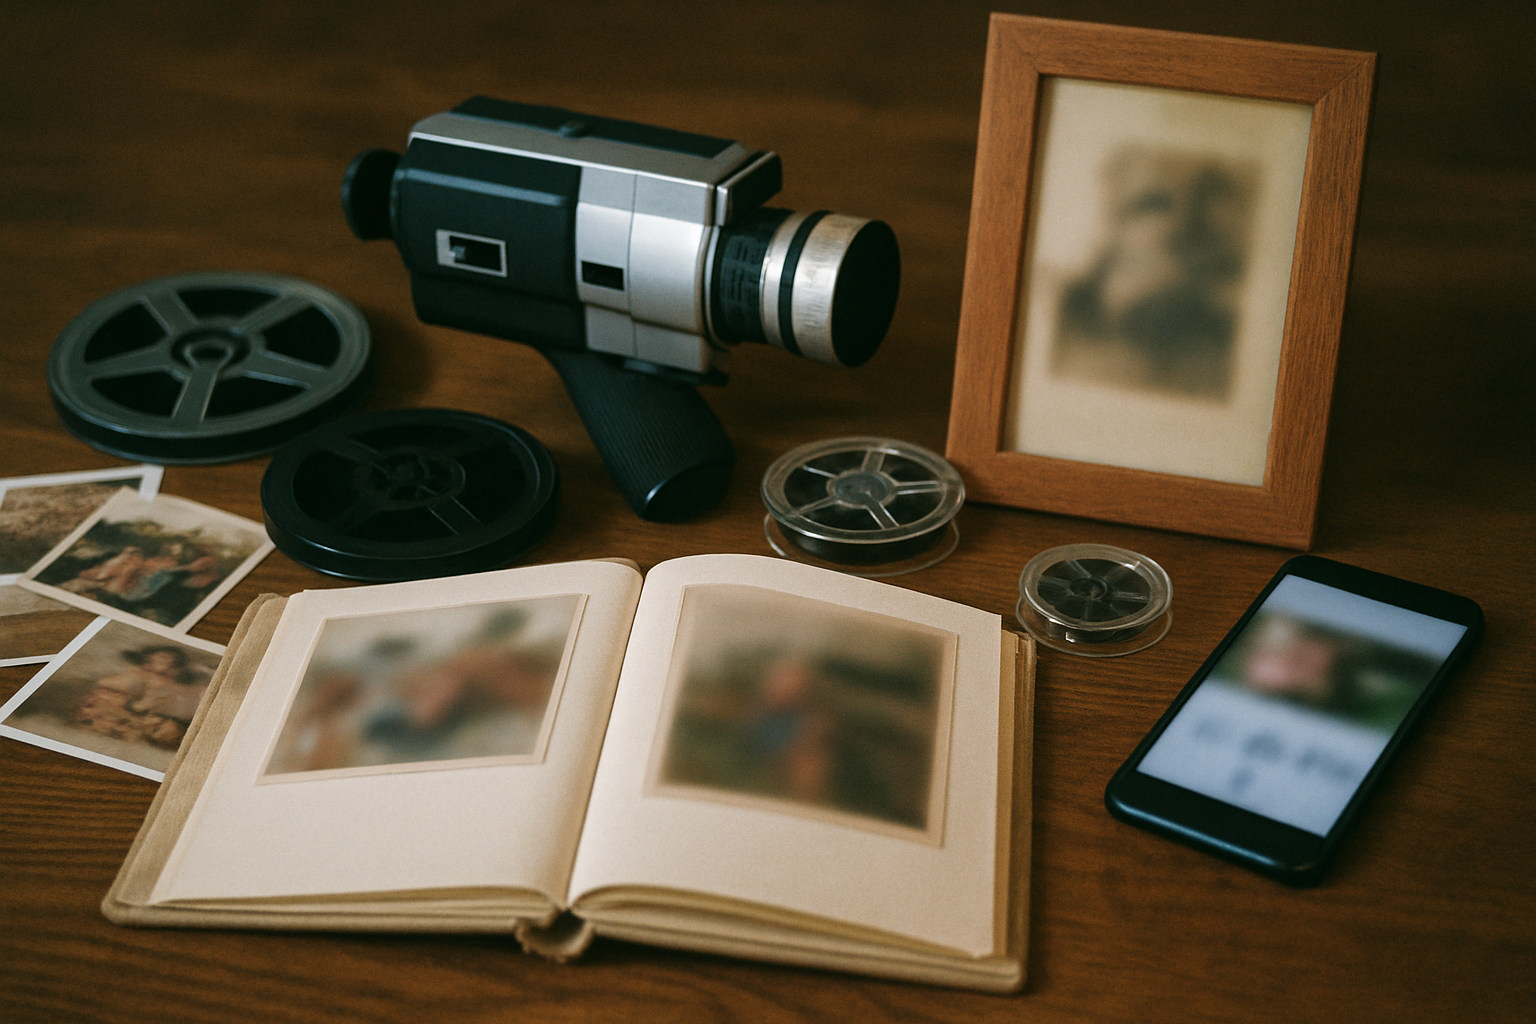
In a closet or an attic, there's a box. Inside, stacked in little tins or plastic cases, are reels of film that hold a silent, flickering past. It’s a birthday party from 1972, a wedding from a perspective you’ve never seen, your grandparents as young parents, moving with a ghostlike grace through a world that exists now only on brittle strips of celluloid.
These aren't just home movies; they're time machines. But the machines are breaking down. The film is fading, growing fragile. The projector needed to view them might be long gone. The race is on to bring these silent stories into the digital age, to give them a permanent, accessible home before they vanish completely.
But where do you even begin with something as delicate and unfamiliar as Super 8 or 16mm film? It feels like a specialist's job, fraught with risk. The good news is, it's more achievable than you think.
The short answer
To digitize Super 8 film, you have two main options. The DIY route involves buying a dedicated film scanner for home use, offering more control and lower per-foot cost for large collections, but requiring significant time and technical skill. Alternatively, professional digitization services provide high-quality, frame-by-frame scans with color correction, saving you effort and reducing the risk of damaging fragile film. The best choice depends on your budget, the condition of your film, and how much time you can invest.
Why Digitizing Old Film Is So Urgent
Unlike a digital file that can be copied perfectly forever, physical film has a finite lifespan. It's made of organic materials that are actively, if slowly, decomposing. The primary enemies are time, temperature, and humidity.
Celluloid film, especially from the mid-20th century, is susceptible to a chemical decay process called "vinegar syndrome." As the acetate film base breaks down, it releases acetic acid—the same chemical that gives vinegar its sharp smell. Once it starts, it's irreversible and contagious to other films stored nearby. The film becomes brittle, shrinks, and the images warp.
Even without this dramatic decay, colors fade. The dyes used in older color film were not stable, with reds and yellows often disappearing first, leaving the picture with a blue or magenta cast. Every passing year in a non-archival storage box steals a little more of the vibrancy from these memories. Digitization is the only way to freeze them in time.
The Two Paths: DIY vs. Professional Services
For photos specifically — prints, slides and negatives rather than film reels — we compared the major photo scanning services on price, turnaround, and what happens to your originals.
When it comes to converting your film, you're at a fork in the road. One path is hands-on, giving you total control. The other is hands-off, entrusting your memories to experts. Neither is inherently better; they just serve different needs.
The DIY Method: Hands-On Preservation
For the dedicated archivist with a large collection, the do-it-yourself approach can be rewarding. This involves purchasing a dedicated film scanner. These devices, often from brands like Wolverine or Reflecta, are designed to scan film frame-by-frame, compiling the images into a digital video file.
More Control
You manage the entire process, from cleaning the film to choosing the final file format and resolution. You can re-scan reels as needed to get the perfect result.
Steep Learning Curve
Operating a scanner, handling brittle film, and performing digital color correction requires patience and practice. Poor handling can permanently damage your film.
Cost-Effective for Bulk
While the initial investment in a scanner is significant (often $300+), it becomes cheaper than a professional service if you have dozens of reels to convert.
Extremely Time-Consuming
Scanning is a slow, mechanical process. A single three-minute reel of Super 8 film can take over 30 minutes to scan, not including setup, cleaning, and editing time.
If you choose this path, here's a simplified look at the process.
A Basic DIY Digitization Workflow
Inspect and Clean the Film
Gently clean your film with a soft, lint-free cloth and a specialized film cleaning solution to remove dust and oils. Check for brittleness or damage like broken sprocket holes, which may require repair with film splicing tape.
Set Up Your Scanner
Calibrate your film scanner according to the manufacturer's instructions. This usually involves loading the film reel, threading it through the machine's gate, and selecting the correct film type (8mm or Super 8).
Scan Frame-by-Frame
Start the scanning process. The machine will slowly advance the film, capturing a high-resolution image of each individual frame and saving it to an SD card. Monitor the process to ensure the film feeds smoothly.
Assemble and Edit
Transfer the output file (usually an MP4) to your computer. You can then use video editing software to make adjustments, such as trimming unwanted sections, correcting color, and adjusting brightness or contrast.
Hiring an Expert: When to Outsource
For most people, especially those with a small number of precious reels or film that is old and fragile, a professional service is the safer and more practical choice. These companies have industrial-grade equipment that produces a far higher quality result than consumer-grade scanners. They are also experienced in handling delicate, aging film.
When you're looking for a service, you'll often see mail-in options like Legacybox or Capture, which send you a kit to safely pack and ship your media. It's a convenient model that has become an industry standard.
High-Resolution Scans
Look for services that offer, at a minimum, 1080p HD scanning. This provides excellent clarity for viewing on modern screens. A true frame-by-frame scan ensures you get a sharp, flicker-free video.
Professional Color Correction
Experts can often restore much of the original color that has faded over time. This is a manual, skilled process that makes a huge difference in the final quality.
Secure Handling
Reputable companies have clear protocols for tracking and handling your irreplaceable originals from the moment they arrive until they are safely returned.
Flexible Digital Delivery
Most services offer delivery via a download link, thumb drive, or cloud service. This gives you an easily shareable and archivable digital master copy.
While professional services cost more per reel, they save you dozens of hours and provide peace of mind that your memories are being handled correctly. The quality is almost always superior to what can be achieved at home.
You Have the Video File. Now What?
Getting a digital MP4 file is a huge victory, but it isn't the end of the journey. In many ways, it's the beginning of a new one. The file itself is just raw material; the real magic happens when you reconnect it to the stories it holds.
This is the challenge we built Memory Murals to solve. A silent video of a family picnic is a lovely artifact. But when you pair it with a recording of your mom's voice identifying everyone—"That's my aunt Carol, she always wore that hat"—it transforms into a living piece of your family's history. The digital file is the what, but the story is the who and the why.
After you've gone to the trouble of digitizing your films, the next step is to create a permanent, private home for them. A place where you can add names, dates, and anecdotes. A place where you can record yourself or a relative narrating the silent footage, preserving the context for future generations. This is how a simple video file becomes a true family heirloom. You're not just saving a movie; you're saving the meaning behind it. You can start building your family's private archive in just a few minutes.
This final step ensures your efforts last. It's the difference between having a box of unlabeled digital files and having a curated library of your family's most precious moments, ready to be shared and understood by your children and their children. For more on this, see our guide on how to create a private, secure family archive and what to do after you restore old photos to preserve the story.
The process of watching these old films is often a revelation. It's a chance to meet your parents before they were your parents, to see the world through their eyes. The goal isn't just to convert acetate to pixels. It's to pull these silent stories into the present, to hear their echoes in our own lives, and to ensure the people flickering on the screen are never forgotten.
Get 50 questions to ask your parents — before the stories are gone
The exact prompts families use to draw out the stories nobody ever wrote down. Free, straight to your inbox.
No spam. Unsubscribe anytime.
Frequently asked questions
How much does it cost to digitize Super 8 film?
The cost to digitize Super 8 film varies significantly. Professional services typically charge per foot of film, often between $0.25 and $0.75, with costs increasing for higher resolutions, sound transfer, and color correction. DIY methods require an upfront investment in a scanner, which can range from $300 to over $1,000. While DIY is cheaper for large collections, professional services offer higher quality and convenience for a per-reel price.
What is the best resolution to digitize 8mm or Super 8 film?
For most 8mm and Super 8 home movies, a High Definition (1080p) scan offers an excellent balance of quality and file size, capturing the film's original detail beautifully. While some services offer 2K or 4K scans, the difference may be minimal given the original film's resolution. 1080p is a fantastic standard for viewing on modern TVs and devices, ensuring your memories look crisp and clear for years to come.
Can you get audio from Super 8 film?
Yes, but only if the original Super 8 film was recorded with sound. Sound film has a magnetic stripe running along the edge, which looks like a thin, brown or rust-colored line. Most home movies are silent. If your film has this stripe, make sure the digitization service you choose explicitly supports audio transfer, as it requires specialized equipment to capture both the video and the sound.
How can I tell what kind of old film I have?
You can identify film formats by looking at the reel and the sprocket holes. Regular 8mm film has large sprocket holes on the edge that are the same size as the frames. Super 8 film has much smaller, rectangular sprocket holes centered next to the dividing line between frames. 16mm film is noticeably wider than both and can have sprocket holes on one or both sides. The reel's hub size can also be a clue.
How long does Super 8 film last before it degrades?
Under ideal, climate-controlled storage conditions, Super 8 film can last several decades. However, most home movies are stored in attics or basements, where temperature and humidity fluctuations accelerate decay. Colors fade (especially reds), the film base can become brittle, and 'vinegar syndrome' can set in, giving off a distinct vinegar smell as the acetate base decomposes. Digitization is the best way to stop this degradation in its tracks.
About the author
Patrick Moore, Founder of Memory Murals
Patrick Moore is the founder of Memory Murals. He built it after realizing how much of his own family's history had quietly slipped away — to help families preserve their stories, voices, and photos while they still can.
Related Stories
How-To Guides
What to Do With Old VHS Tapes Before They Die: A Family's Guide to Saving the Footage Inside
Your VHS tapes are on a clock. Magnetic tape decays, VCRs are nearly extinct in 2026, and the home movies inside those plastic shells are quietly running out of time. Here's the honest guide to digitizing them — and what to do once you have a hard drive full of unlabeled MP4s.
Patrick Moore • May 3, 2026
How-To Guides
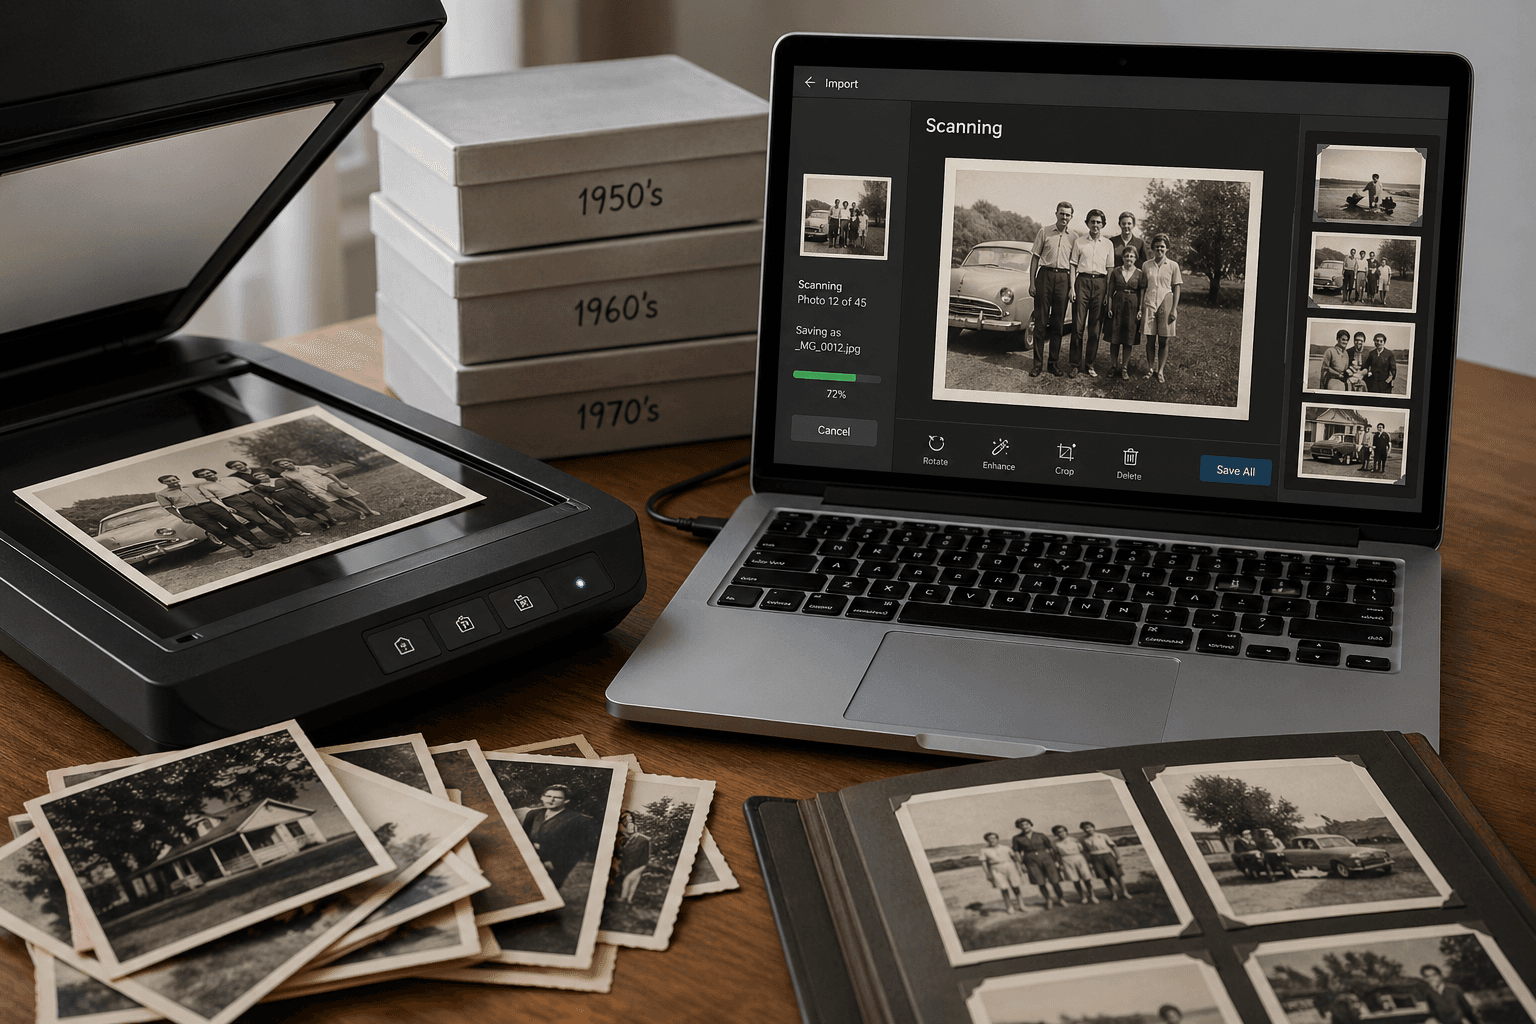
How to Digitize Old Photos at Home in 2026 (No Scanner Required)
A practical, no-fluff guide to turning a shoebox of old family photos into a digital archive — using just your phone, a flatbed scanner, or a mail-in service. Real tradeoffs, no jargon.
Patrick Moore • April 28, 2026

How-To Guides
How to Organize Family Videos: A Step-by-Step Guide to Digital Archiving
Overwhelmed by decades of home movies on phones, tapes, and hard drives? This guide provides a clear, step-by-step process to gather, digitize, and organize your family videos. Learn how to create a lasting digital archive that's easy to navigate, safe from loss, and ready to be enjoyed.
Patrick Moore • September 21, 2026
Now give it somewhere to live.
The file you just saved outlasts nothing on its own. Put it where your family can still find it in thirty years.