A Guide to Digitizing Old Audio Cassettes
That dusty box of cassettes holds more than magnetic tape; it holds voices, stories, and laughter you can't get back. This guide offers practical steps to digitize old audio cassettes, converting precious recordings into a lasting digital format you can share and cherish for generations.
Patrick Moore, Founder • July 4, 2026
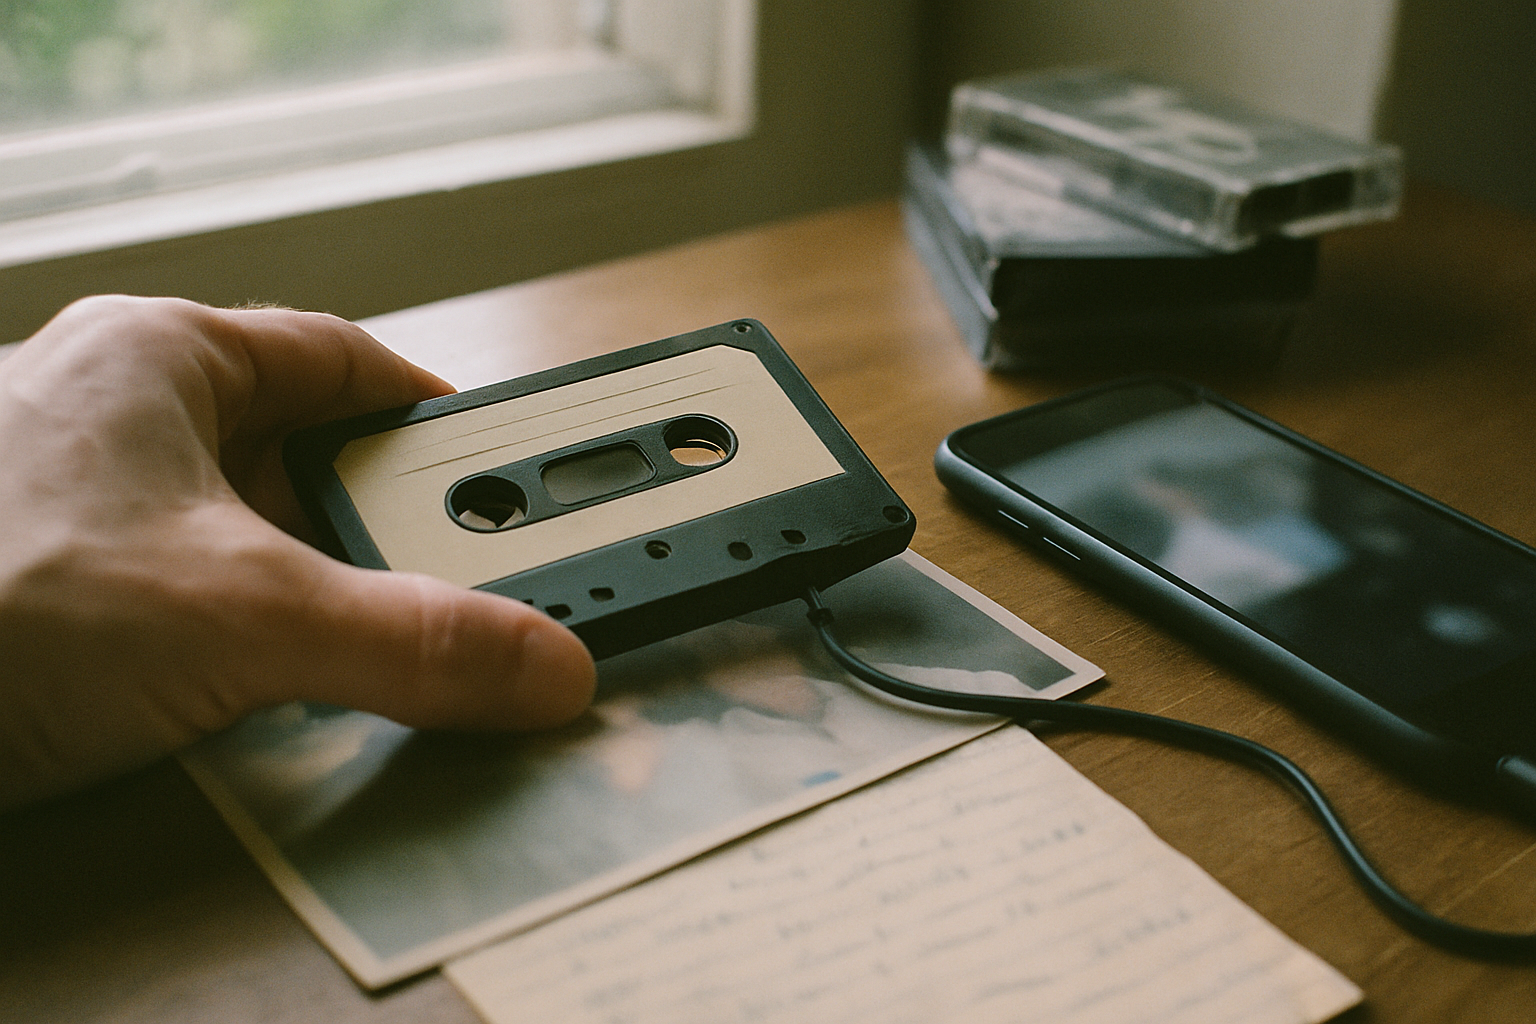
In a box in the attic, or tucked away in a closet, there's a good chance you have a small stack of audio cassettes. They feel like relics now, little plastic rectangles with their spools of fragile brown ribbon. Maybe they're mixtapes from college, but maybe, if you’re lucky, they’re something more.
Maybe one holds a recording of your grandfather telling a story about his first job. Maybe another is your mom, her voice young and clear, singing a lullaby to you as a baby. Or perhaps it’s just a rambling conversation from a family holiday, voices overlapping, full of inside jokes and familiar laughter.
These aren't just recordings; they are sonic time capsules. But magnetic tape is a fleeting medium. With each passing year, the sound quality fades, the plastic grows brittle, and the risk of the tape snapping in an old player increases. The voices of the people we love are too precious to be lost to decay.
Preserving them means moving them from the physical world to the digital one. It’s a project that takes a little effort but pays off for generations.
The short answer
To digitize audio cassettes, you can either do it yourself or use a professional service. The DIY method involves connecting a cassette player (a standard deck or a USB-specific model) to a computer. Using free audio software like Audacity, you can then record the tape's playback in real-time. Once recorded, you can edit the audio and export it as a digital file like an MP3 or WAV. Professional services handle this entire process for you, delivering high-quality digital files for a per-tape fee.
The Ticking Clock of Magnetic Tape
Unlike a photograph that fades gracefully, magnetic tape degrades in ways that can be sudden and catastrophic. The information is stored in a thin layer of magnetic particles, and that layer is surprisingly vulnerable.
Over time, the magnetic signal weakens, resulting in muffled sound and a loss of high frequencies. The binder that holds the magnetic particles to the plastic base can break down, a condition sometimes called "sticky-shed syndrome," where the oxide layer sheds during playback, gumming up your player and destroying the recording. The tape itself can become brittle and snap.
Every cassette has a finite lifespan. The act of digitizing isn't just about convenience; it's a rescue mission.
Choosing Your Path: DIY vs. Professional Services
When you decide to digitize your cassettes, you have two main paths. You can tackle it yourself, which gives you full control, or you can outsource the work to a professional service, which saves you time and often yields higher-quality results. Neither is universally better; the right choice depends on your budget, your technical comfort, and the number of tapes you have.
DIY Digitization
This is the most cost-effective route, especially if you only have a few tapes. You maintain complete privacy and control over the process, and there's no risk of losing your precious originals in the mail. It can also be a rewarding project.
DIY Digitization
It's a time-consuming, real-time process—a 60-minute tape takes 60 minutes to record. It requires purchasing or finding equipment, setting up software, and learning a few audio basics. The quality is dependent on your equipment and skill.
Professional Service
This is the easiest and most efficient option. Professionals use high-end equipment to get the best possible sound quality, including noise reduction and audio enhancement. They can handle large collections and different formats, saving you dozens of hours.
Professional Service
It's the more expensive option, with costs adding up for large collections. You have to pack and ship your irreplaceable tapes, which carries a small but real risk. You are also entrusting your family's private moments to a third party.
A Step-by-Step Guide to DIY Cassette Digitization
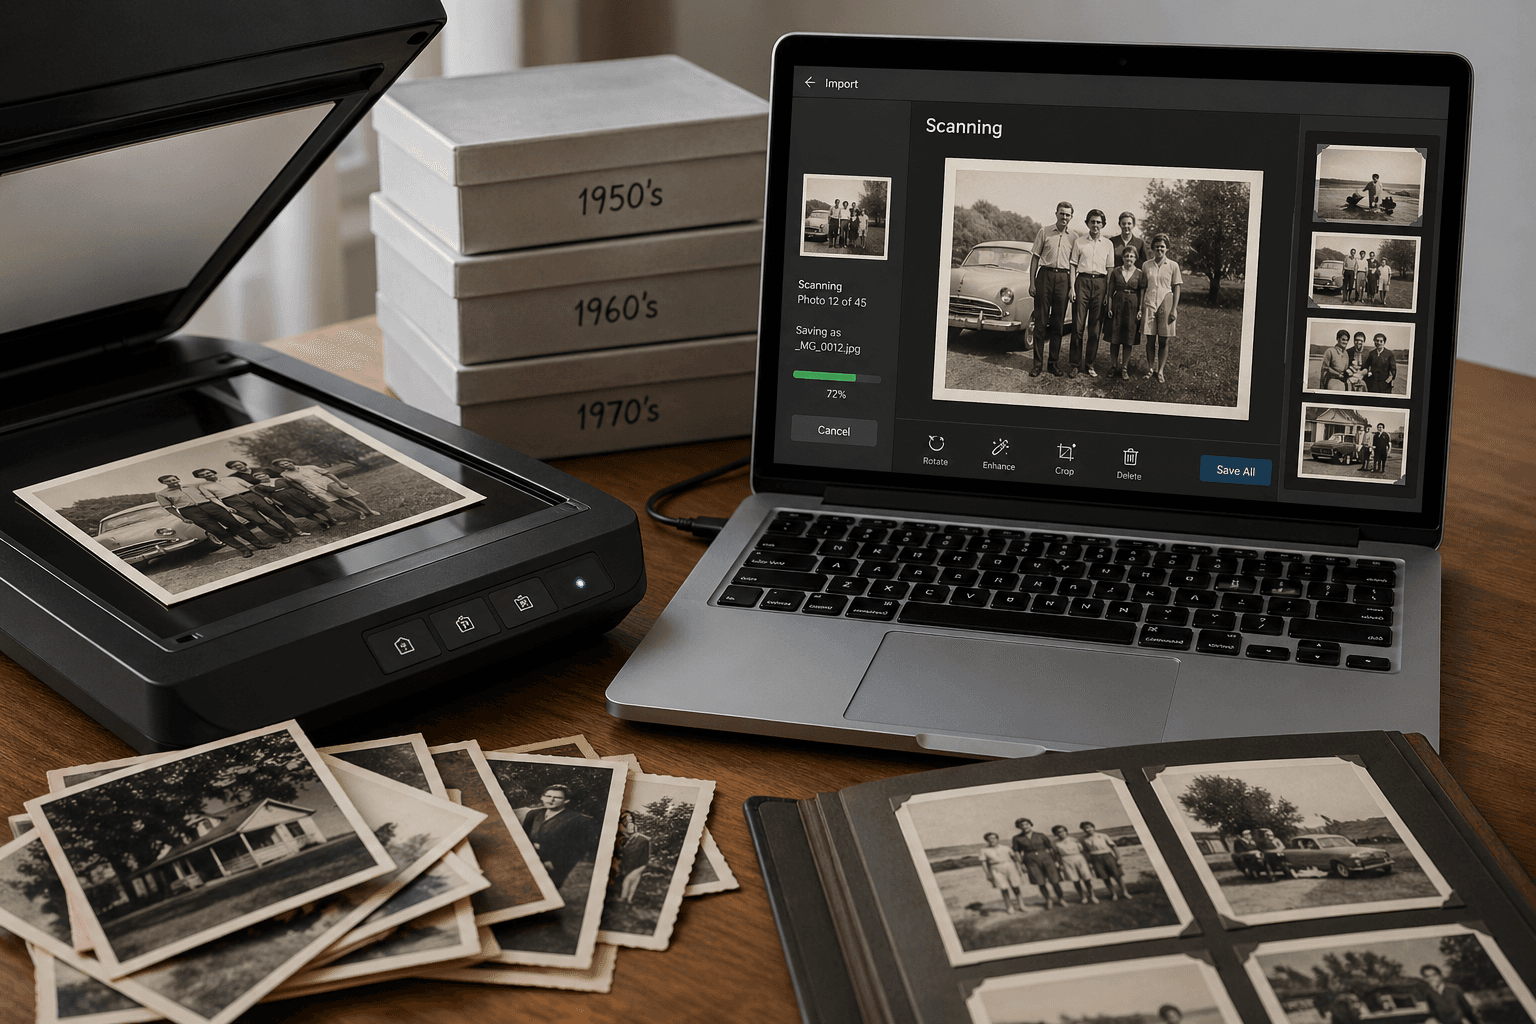
If you've decided to go the DIY route, the process is straightforward. With a little patience, you can create excellent digital copies of your tapes right at home. The process is very similar to how you might digitize old photos at home, just with different equipment.
From Cassette to Computer
Gather Your Equipment
You'll need a cassette player, a computer, and a way to connect them. The easiest option is a USB cassette player ($25-$60), which plugs directly into your computer's USB port. If you have an old cassette deck or Walkman, you'll need an audio cable (typically a 3.5mm stereo cable) to connect its headphone or line-out jack to your computer's line-in or microphone port.
Install and Set Up Software
Audacity is the go-to choice for this project. It's a powerful, free, open-source audio editor available for Mac, Windows, and Linux. Once installed, go into its preferences and make sure your input device is set to your USB player or your computer's line-in port. This tells the software where to listen for the audio.
Connect and Test Your Levels
Plug everything in and put a non-critical tape in to test. In Audacity, click the microphone icon to start monitoring the audio levels. Play the tape and watch the meter. You want the loudest parts to get close to the top without ever hitting the red zone at the far right. Adjust the input volume slider until the levels are just right.
Record in Real Time
Rewind your tape to the beginning. In Audacity, press the red 'Record' button, and then press 'Play' on your cassette player. You'll have to let the entire side of the tape play through. When it's done, press the 'Stop' button in Audacity. You'll see the audio you just recorded as a waveform on the screen.
Edit and Export
Now you can do some light cleanup. Trim any silence at the beginning and end. If there's a constant hiss, you can use Audacity's 'Noise Reduction' effect. Once you're happy, go to File > Export. Choose Export as WAV for a full-quality archival file, or Export as MP3 for a smaller, more shareable file. Give it a descriptive name, and you're done!
Watch Out for 'Clipping'
When setting your recording levels, it's crucial to avoid "clipping." This happens when the audio signal is too loud for the recorder, causing distortion that sounds like a harsh, crackling noise. It's an unfixable error, so it's always better to record a little too quietly than too loudly. You can always boost the volume later, but you can never remove clipping.
Finding the Right Digitization Service
If the DIY process sounds too involved, a professional service is an excellent choice. Companies like Legacybox and many local photo shops specialize in converting outdated media. They can also handle a variety of formats, which is helpful if you also need to figure out what to do with old VHS tapes.
When choosing a service, don't just look at the price per tape. Consider the entire experience.
Handling and Tracking
Look for a company that offers robust, trackable shipping both ways. They should clearly explain their process for handling your one-of-a-kind originals with care.
Output Formats
The service should provide you with both high-quality archival files (like WAV) and convenient sharing files (like MP3). You'll typically receive these on a thumb drive, DVD, or via a cloud download.
Audio Enhancement
Many top-tier services include basic audio cleanup, like noise and hiss reduction, as part of their standard process. Check to see what's included and what might be an extra charge.
Customer Reviews
Read reviews from past customers to get a sense of their turnaround time, communication, and the quality of the final product. Look for reviews that mention the specific media type you have.
Beyond the File: Archiving Your Digital Audio
Getting a clean digital file is a huge victory, but it's only the first step. A file named tape_01.mp3 on a hard drive is safe, but it isn't yet a memory. To truly preserve it, you need to add context.
This is where the real work of archiving begins. The goal is to connect that voice to a time, a place, and a story. Just as it's vital to preserve the story behind old photos, it's equally important for audio. Whose voice is it? When and where was this recorded? What were they talking about? These details transform an anonymous recording into a cherished heirloom.
Your family’s stories deserve a safe place
Photos, voice recordings, and the stories behind them — private, ad-free, free to start.
Start preserving memories freeFree plan available • No credit card required
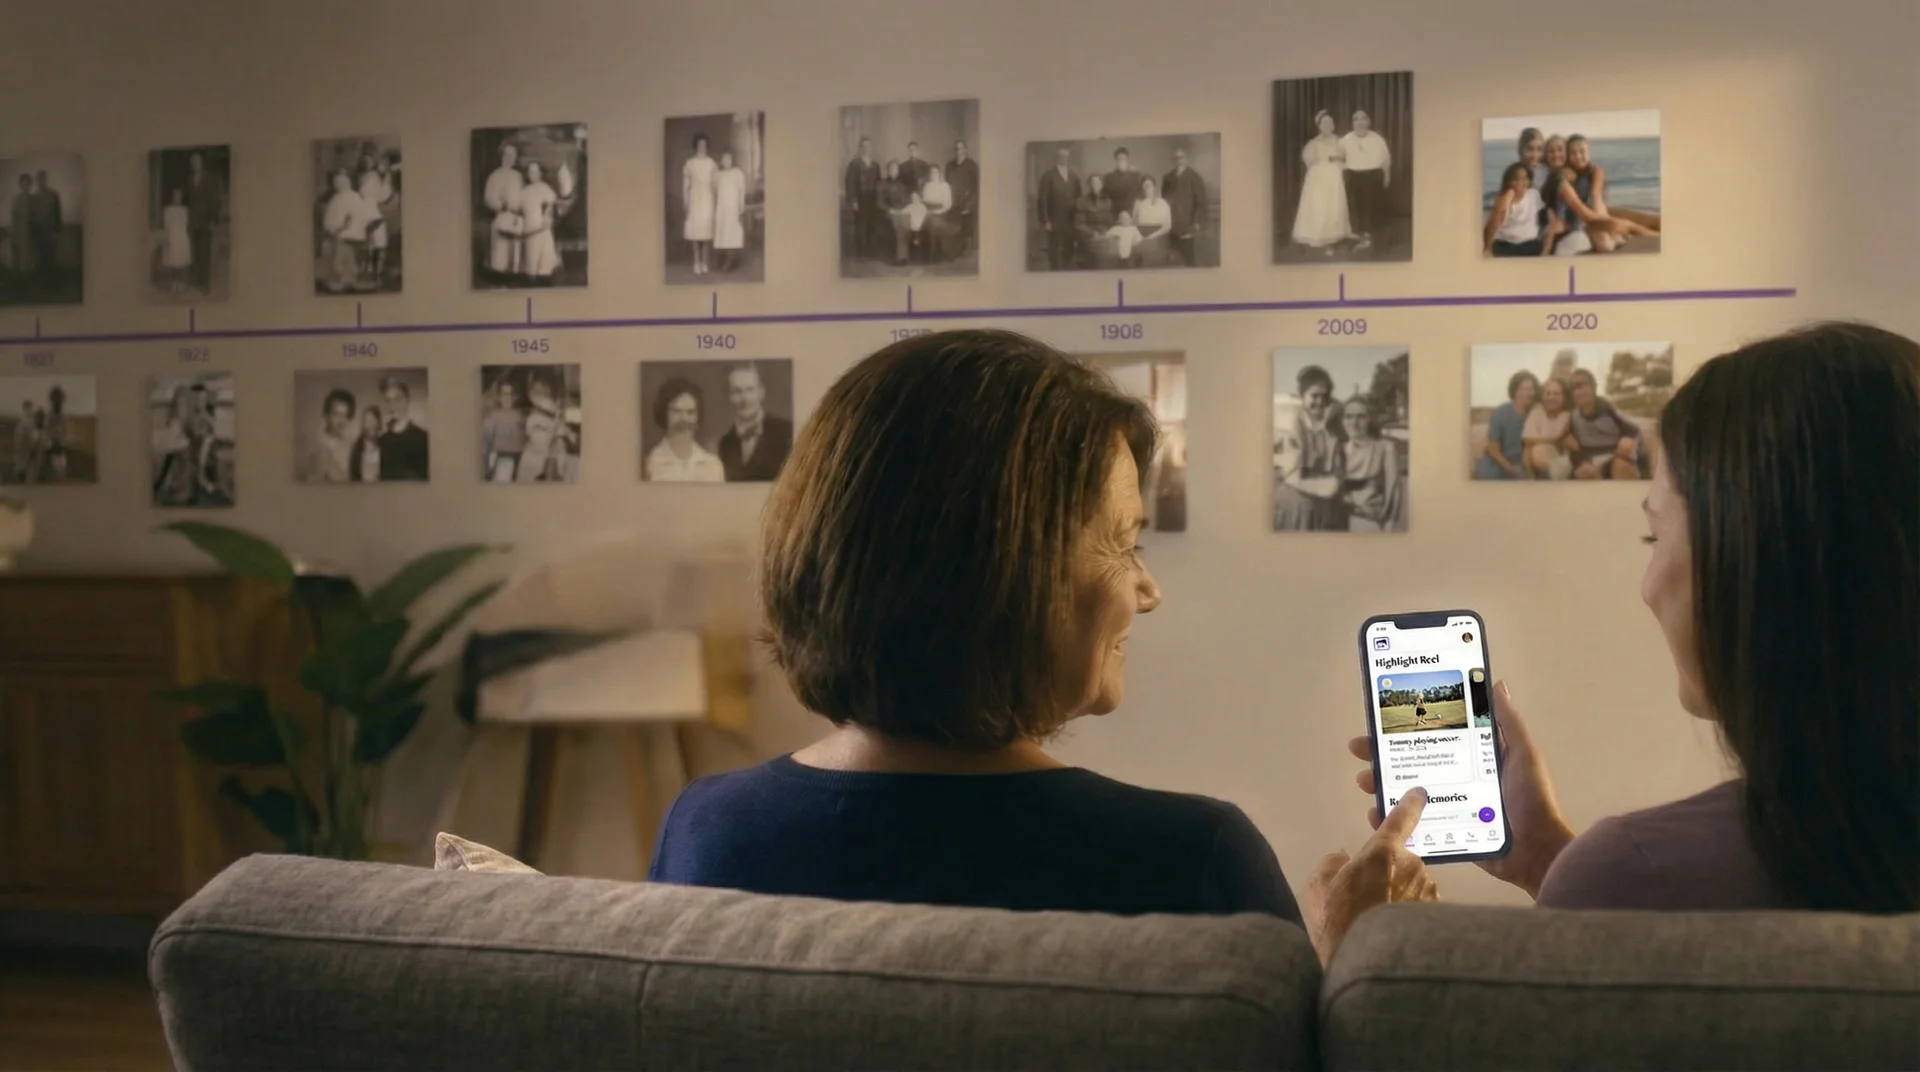
At Memory Murals, we built a place for exactly this kind of rich, contextual storytelling. You can upload these newly digitized audio files and attach them directly to a photo of the person speaking. You can transcribe the audio to make it searchable. You can place it on a timeline alongside photos and written stories from that same year. Suddenly, an old photo of your grandmother comes to life when you can click a button and hear her laugh.
This approach turns a collection of disconnected files into a cohesive family narrative. It ensures that future generations won't just find a file; they'll find a person. It's the same principle behind our advice for how to save a deceased loved one's voicemail—the audio is precious, but its meaning is magnified by its context.
Whether you use a simple folder structure on your computer or a dedicated platform, the key is to keep the audio file and its story together. Rename the file with the date, location, and speakers. Create a simple text document in the same folder with notes and a transcript. Do whatever it takes to make sure the context is never lost.
Once you have these precious audio files, you can begin the meaningful work of weaving them into your family's story. If you're looking for a private, secure place to do that, you can start building your family archive today.
That click and whir of the cassette player is a sound of the past. But the voices it captured don't have to be. By bringing them into the present, you give them a future—a chance to be heard, and known, and loved all over again.
Get 50 questions to ask your parents — before the stories are gone
The exact prompts families use to draw out the stories nobody ever wrote down. Free, straight to your inbox.
No spam. Unsubscribe anytime.
Frequently asked questions
What is the easiest way to digitize audio cassettes?
The simplest method is to use a USB cassette player, which connects directly to your computer. These devices convert the audio for you and often come with basic recording software. Alternatively, professional digitization services offer a hands-off approach. You mail them your tapes, and they return high-quality digital files, saving you the time and effort of doing it yourself.
Can you digitize cassettes with a Walkman?
Yes, you can use a Walkman or any cassette player with a 3.5mm headphone or line-out jack. You'll need a 3.5mm-to-3.5mm audio cable to connect the player's output to your computer's microphone or line-in port. Then, using free software like Audacity, you can record the audio as it plays. This method requires a bit more setup than a dedicated USB player but works well.
How much does it cost to convert cassette tapes to digital?
The cost varies significantly. A DIY approach can be very affordable, especially if you already have a cassette player; you may only need a cable (under $10) and free software. A dedicated USB cassette player typically costs between $25 and $60. Professional services usually charge per tape, often from $15 to $30, with potential discounts for bulk orders. Check their current pricing for specifics.
What is the best format to save digitized audio?
For archival purposes, save your audio in a lossless format like WAV or AIFF. These files are large but contain all the original audio data without compression, ensuring the best possible quality. For sharing or everyday listening, a high-quality compressed format like MP3 (at 320kbps) or AAC is a good choice, as the files are much smaller and compatible with most devices.
How do I clean old audio cassettes before digitizing?
Gently clean the cassette shell with a soft, dry cloth. For the tape path inside the player, use a commercial cassette head cleaner or a cotton swab very lightly dampened with isopropyl alcohol. Carefully clean the metal heads, pinch roller, and capstan. Let it dry completely before inserting a tape. Avoid touching the magnetic tape itself, as oils from your skin can cause damage.
About the author
Patrick Moore, Founder of Memory Murals
Patrick Moore is the founder of Memory Murals. He built it after realizing how much of his own family's history had quietly slipped away — to help families preserve their stories, voices, and photos while they still can.
Related Stories
How-To Guides
What to Do With Old VHS Tapes Before They Die: A Family's Guide to Saving the Footage Inside
Your VHS tapes are on a clock. Magnetic tape decays, VCRs are nearly extinct in 2026, and the home movies inside those plastic shells are quietly running out of time. Here's the honest guide to digitizing them — and what to do once you have a hard drive full of unlabeled MP4s.
Patrick Moore • May 3, 2026
How-To Guides
How to Save a Deceased Loved One's Voicemail Before It's Gone Forever
Your phone carrier is counting down to the day your loved one's last voicemail disappears forever. Most families don't know this until it's too late. Here's exactly how to save it — on iPhone and Android — before the clock runs out.
The Memory Murals Team • April 19, 2026
How-To Guides
How to Digitize Old Photos at Home in 2026 (No Scanner Required)
A practical, no-fluff guide to turning a shoebox of old family photos into a digital archive — using just your phone, a flatbed scanner, or a mail-in service. Real tradeoffs, no jargon.
Patrick Moore • April 28, 2026
Preserve your family's memories in one private place.
Start free in minutes. No credit card required.